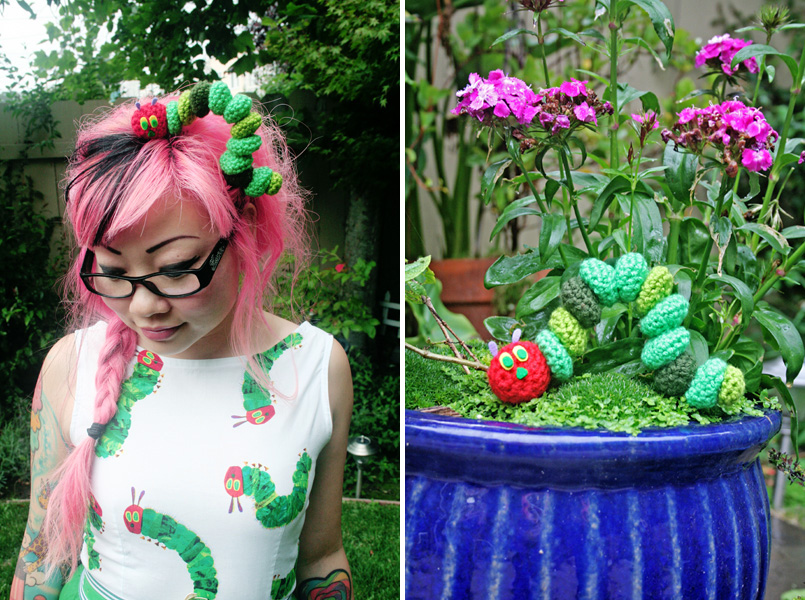
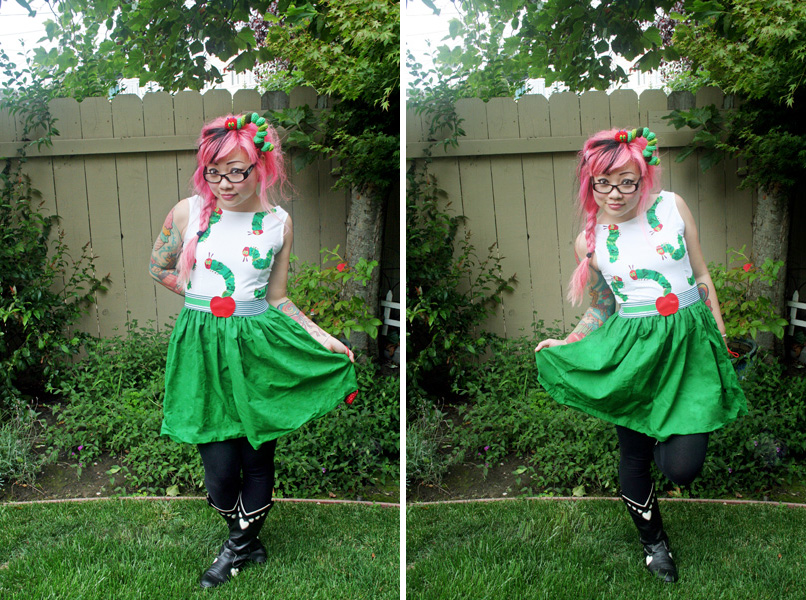
 When I saw this adorable dress by Freckles & Ginger, I had to have it! Not only is her work super cute and classy, but she also donates all proceeds to animal rescues. I gave her my measurements, and with some Freckles & Ginger magic, the dress fit like a glove. I will definitely be buying more from this lovely lady!
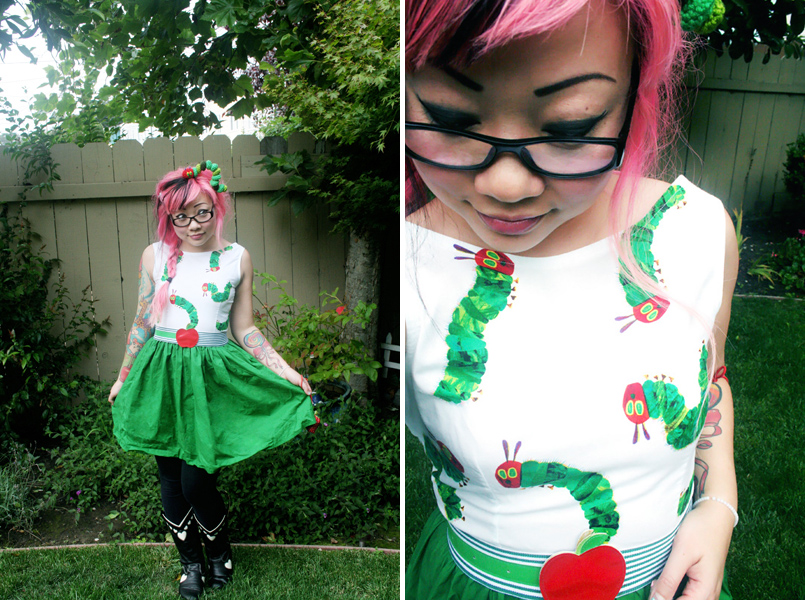
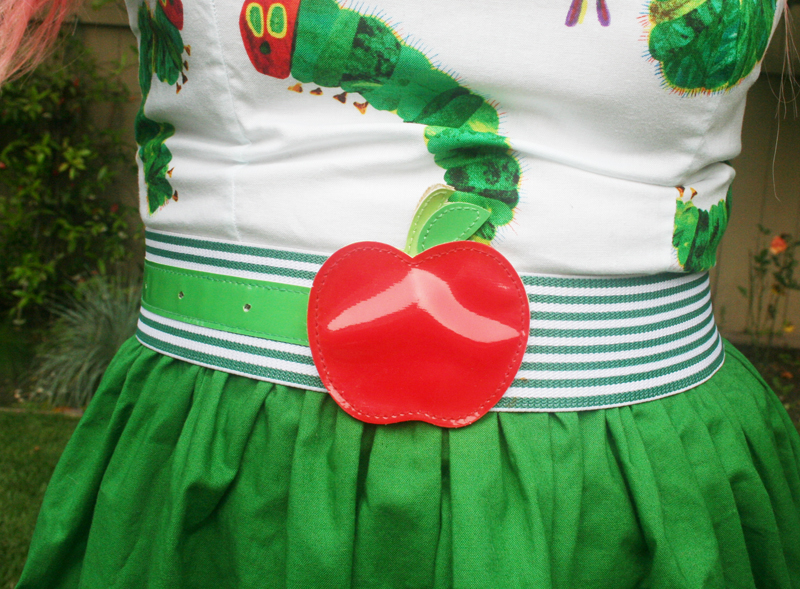 I bought this apple belt from some random thift/vintage shop on Melrose, and it kind of went perfectly with the dress!
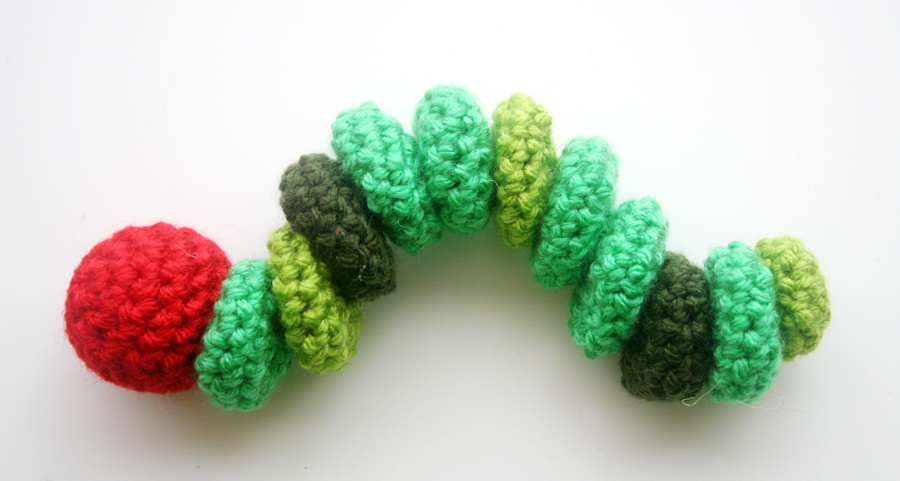
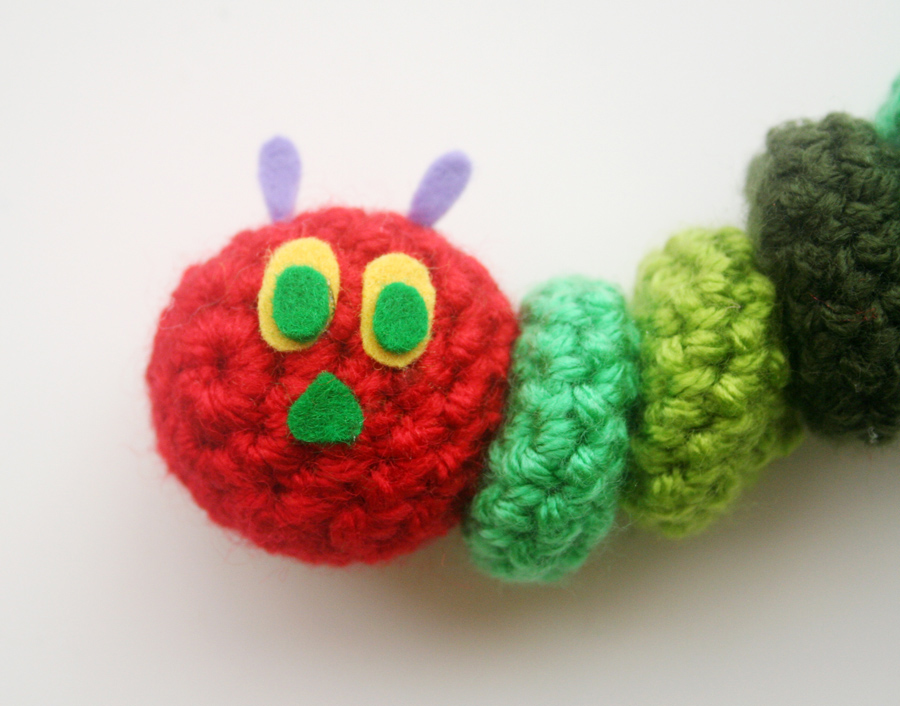
I also knew immediately that I had to crochet a Very Hungry Caterpillar head piece to go with this outfit. Here is the pattern that I created, so you can make one, too!
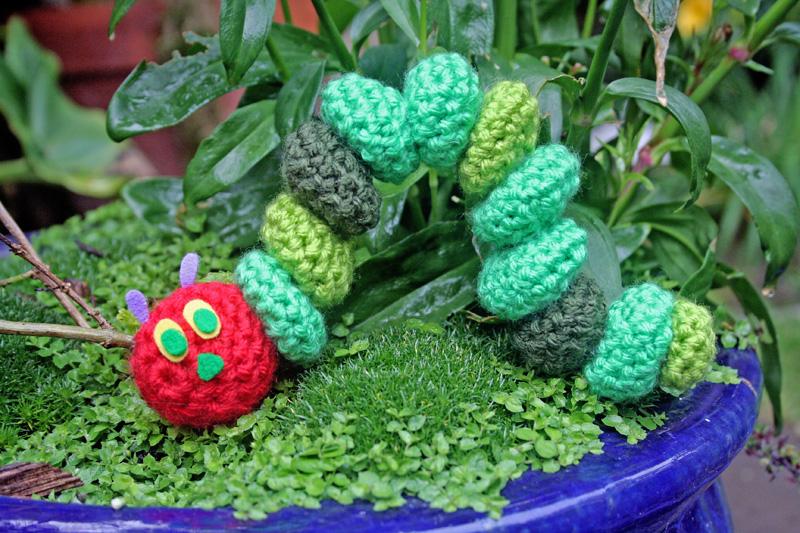 Please note that this pattern is for personal use only, and that the Very Hungry Caterpillar is copyright/trademarked by Eric Carle, the author and illustrator.
What You’ll Need:
H hook
Worsted weight Red (Lion Brand Vanna’s Choice in Scarlet)
Worsted weight Green (Deborah Norville Everyday Worsted in Shamrock, Lime, and Pine Green). I used 3 different shades of green, but you don’t have to.
Small amounts of yellow, green, purple, and brown felt for eyes, nose, feet, and antennae.
Hot glue
Abbreviations:
ch(s): chain(s)
dec: decrease – in this pattern, insert hook into FLO (front loop only) of next st, and then insert hook into FLO of the st after that. YO, pull through 2 loops. YO, pull through 2 loops. Decrease complete.
rmd(s): round(s)
sc: single crochet
sl st: slip stitch
st(s): stitch(es)
( ): work everything inside the parentheses into the next stitch
[ ]: repeat everything inside the brackets the number of times indicated
With Red and H hook, magic circle or ch 3 and sl st to 1st ch to form ring.
Rnd 1: Work 6 sc into ring. (6) Don’t join rnds.
Rnd 2: Work (2 sc) 6 times. (12)
Rnd 3: [(2 sc), 1 sc] 6 times. (18)
Rnds 4-6: Sc evenly. (18)
Rnd 7: [(dec, 1 sc] 6 times. (12) Stuff with red yarn or polyfill.
Rnd 8: dec 6 times. Sl st to next st (16). Break off leaving 12 inches of yarn. With tapestry needle, weave through remaining loops and pull to close. Tie off and weave in end.
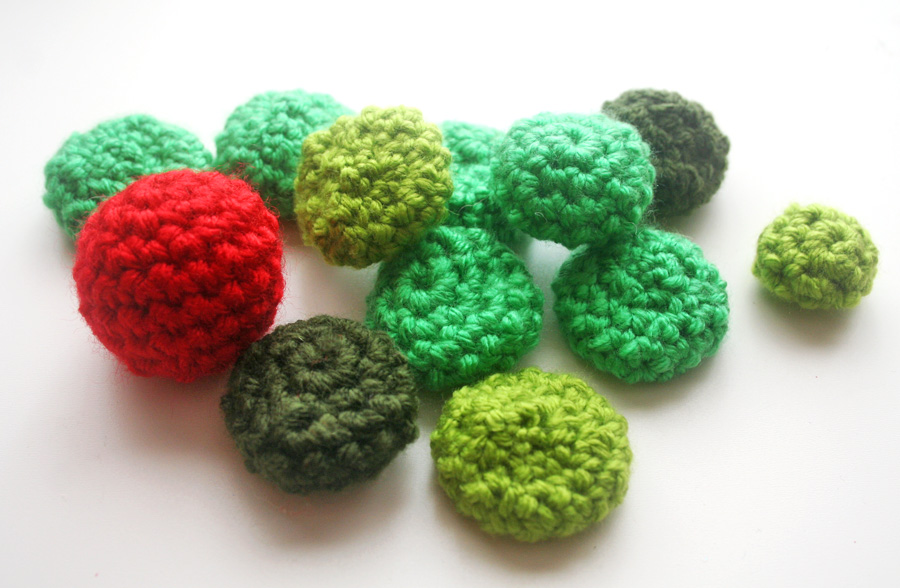
Body Segments (that sounds really gross!) – make as many as you want to achieve the caterpillar length you want. I made 10.
With Green and H hook, magic circle or ch 3 and sl st to 1st ch to form ring.
Rnd 1: Work 6 sc into ring. (6) Don’t join rnds.
Rnd 2: Work (2 sc) 6 times. (12)
Rnd 3: [(2 sc), 2 sc] 4 times. (16)
Rnd 4: Sc evenly around. (16)
Rnd 5: [dec, 2 sc] 4 times. (12)
Rnd 6: dec 6 times. Sl st to next st. (6) Break off leaving 12 inches of yarn. With tapestry needle, weave through remaining loops and pull to close. Tie and weave in end. You won’t be stuffing this, so it will remain sort of a squishy disc.
Tail Nub – Make 1
Magic circle or ch 3 and sl st to 1st ch to form ring.
Rnd 1: Work 6 sc into ring. (6)
Rnd 2: (2 sc) 6 times. (12)
Rnd 3: Sc evenly around. (12)
Rnd 4: dec 6 times. (6) Break off leaving 12 inches of yarn. With tapestry needle, weave through remaining loops and pull to close. Tie and weave in end.
Assembly
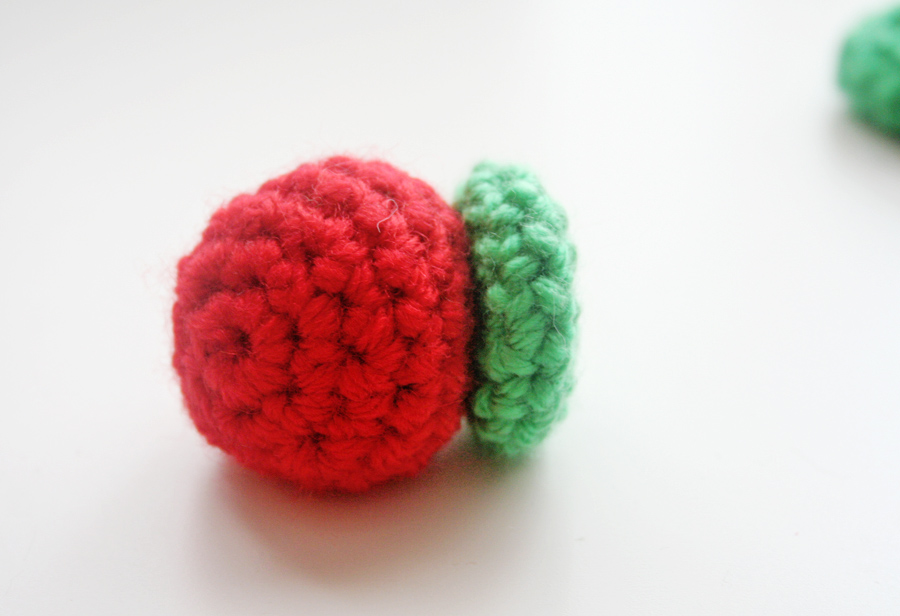
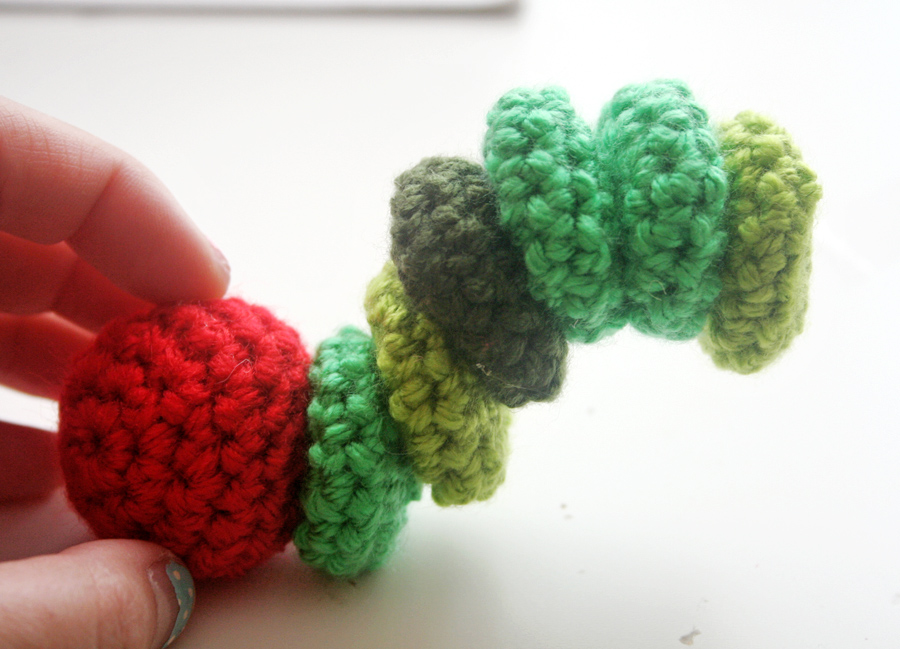
I decided to use hot glue to assemble my caterpillar, one segment at a time, tail nub last, shifting the discs up or down to create the curve of his body.
I cut out felt to create his eyes, nose, and antenna. I considered making him little brown feet, but I ran out of time. I had a party to attend!
Usually with hair pieces, I will glue on some kind of barrette or alligator clips, but I felt like the surface I had to work with was quite small, and any clips would show and take away from the caterpillar cuteness. So all I did was position him on my head and use bobby pins to secure him. That’s the cool thing about crochet hair accessories: crochet is hole-y, so you can stick bobby pins in it and not ruin anything!

