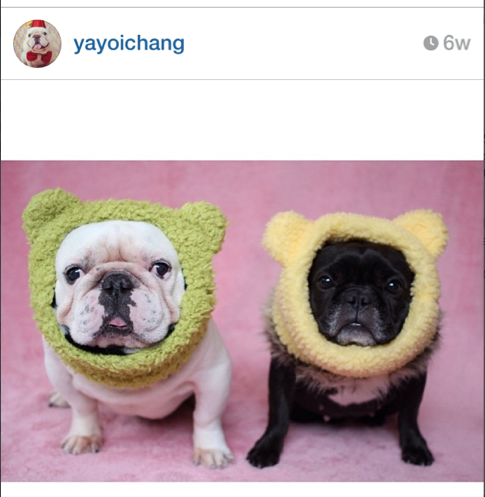
I saw the most adorable photo on Instagram posted by yayoichang of two French bulldogs in some cute headgear.
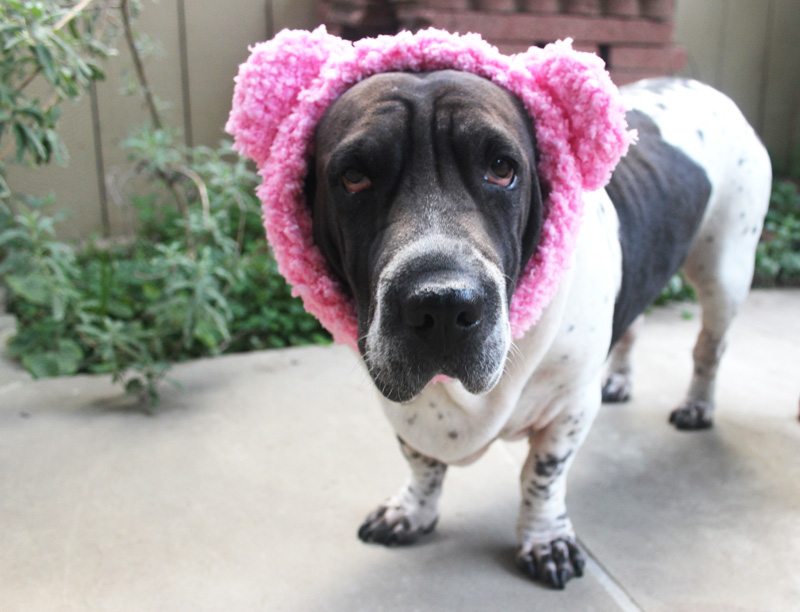
 I then knew it was my mission in life to crochet one for Bibi! I tried to leave the pattern pretty flexible so that you cam make one to fit your own pet. I don’t know that Bibi actually NEEDS something like this, as her body temp runs really warm, but you can’t say no to cute photo ops!

 I designed the head band to be double layered, because that’s how it looked to me in the photos. So the pattern is basically a tube (which is working both layers at the same time when you squish the tube flat) that you crochet until the length can fit around your pet’s head. Then you just stick some ears on top. Easy!
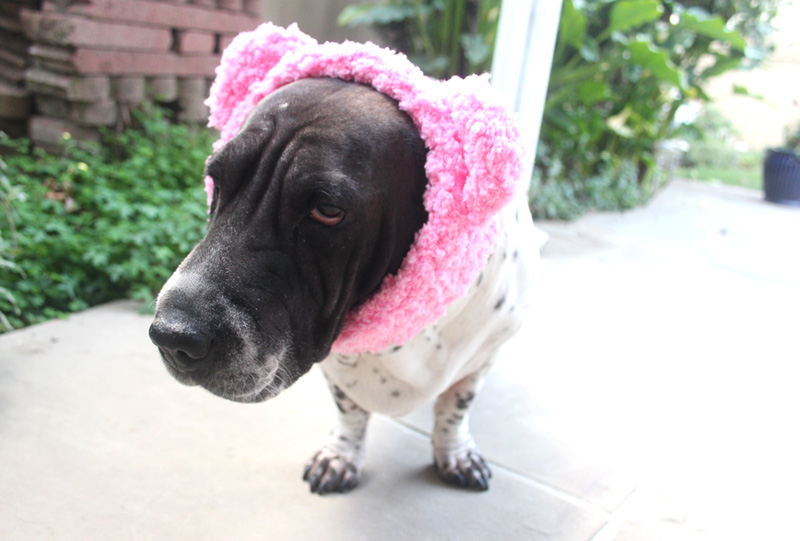
 p.s. I can’t vouch for whether these will actually stay on your pet’s head for any amount of time. One good shake and Bibi’s ears went flying! I guess I would call these more of a photo prop! I think I made mine too small and they were also jutting into my neck a bit…but they were definitely WARM.
What You’ll Need
- Red Heart Buttercup in Ballet Slipper – 1 1/2 balls (I picked this yarn because it comes in yummy pastel colors and has a fun, nubbly texture, but it IS really hard to see your stitches! Lion Brand Homespun is another, nice nubbly yarn, but you can use any yarn, really, since gauge is not a concern here. You can also work a thinner, regular yarn along with a boucle or eyelash yarn to help see your stitches better.)
- K10/6.5mm crochet hook
- scissors
- tapestry needle
Abbreviations
ch(s): chain(s)
dc: double crochet
hdc: half double crochet
sk: skip
sl st : slip stitch
st(s): stitch(es)
( ): work everything in the parentheses into the next st
[ ]: work everything inside the brackets the number of times indicated
Head Band
1. Start by figuring out how wide you want your head band, work enough chains to reach that length, and then double it. This is for the tube/double layer. I liked the look of 10 chs width on Bibi’s head, so I worked 20 chs.
2. Sl st to 1st ch to form ring, making sure there are no twists in your chain.
3. Ch 1 and work 1 sc each in next 2 chs, then 1 hdc each in next 2 chs, then dc evenly in remaining chs. Don’t join rounds.
4. Continue to work 1 dc in each st around and around around, until your head band is long enough fit snugly but comfortably around your pet’s head. Bibi’s head, including her ears, measured 20 inches, so I made my tube 19 inches long to account for some stretch in the crochet.
5. To finish off your tube, work work 1 hdc each in the next 3 sts, then 1 sc each in the next 3 sts, then sl st into next st and break off leaving about 24 inches of yarn for sewing.
6. Sew the ends of your tube to each other to make a circle.
Ears (make 2)
Rnd 1: Ch 3. Sk 1st 2 chs and in 3rd ch work 12 dc. Sl st to 1st dc to join. (12)
Rnd 2: Ch 2. [(2 dc), 1 dc] 6 times around. Sl st to 1st dc to join. (18)
Rnd 3: Ch 2. Work 1 dc in each st around. Sl st to 1st dc to join. (18)
Break off leaving about 24 inches of yarn for sewing and sew both ears to top of head band.
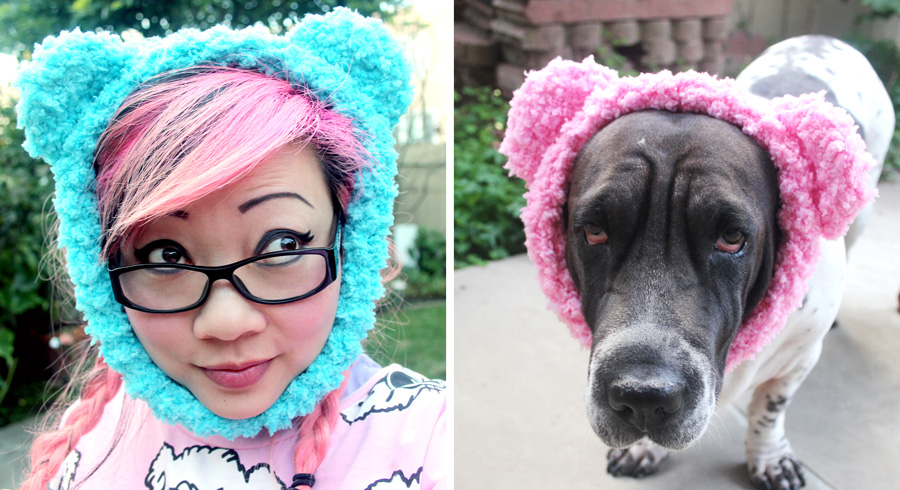
The one that I made for myself was 18 chs around and about 25 inches long, but you can just measure your own head as you go! I might make it thinner, though, like 14 or 16 chs, since the head band dug into my throat a little….! Enjoy! Show me photos!


