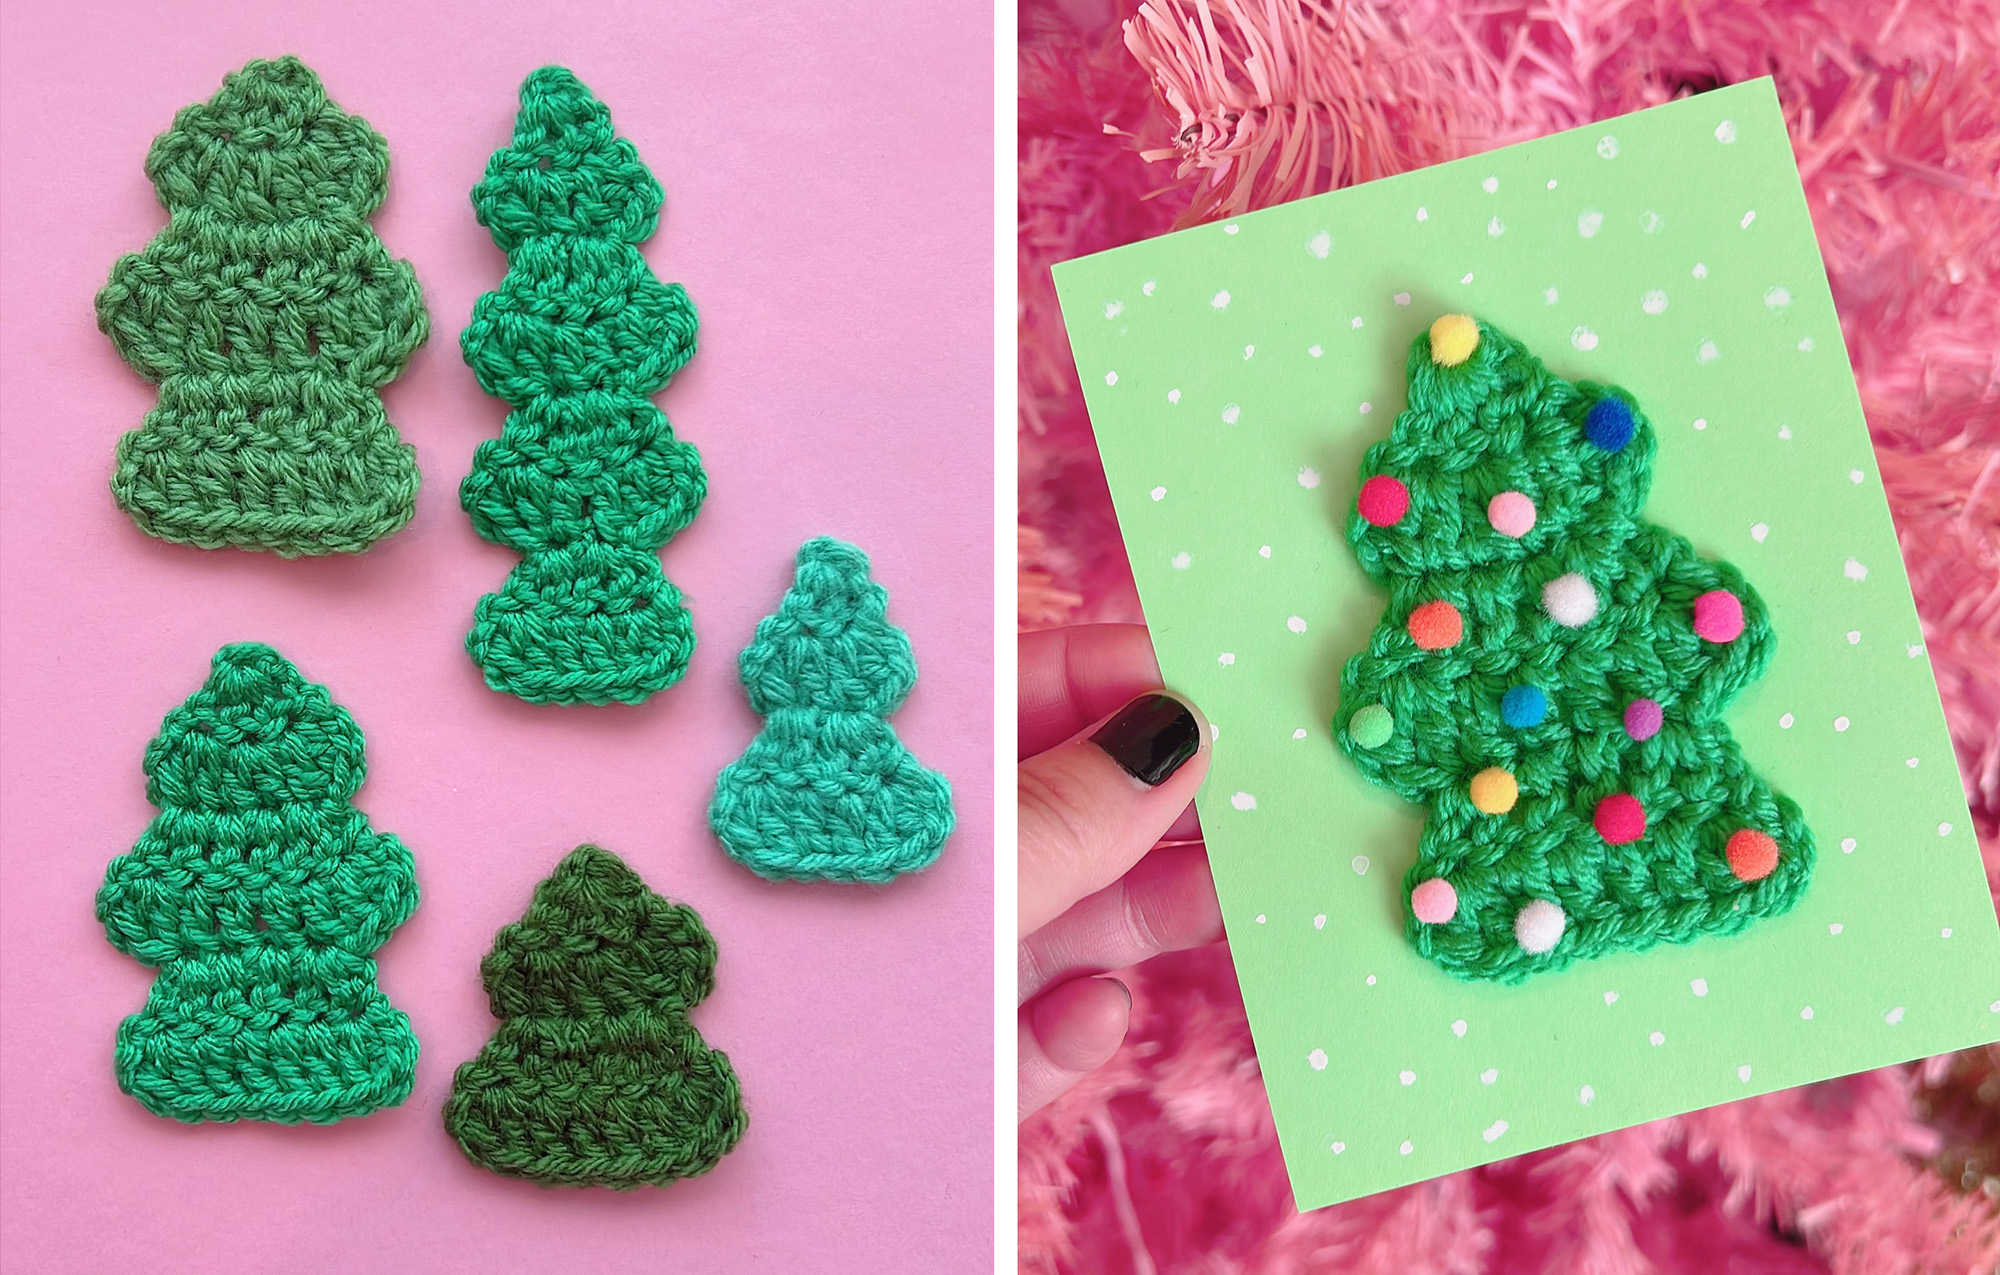
I recently made a little present for my Secret Santa gift exchange at work, and I wanted to include a handmade card. I used a little Christmas tree appliqué from my Gingerbread House Tissue Box Cozy pattern and decorated it with tiny pompoms. For a little bit of extra something, I painted some snow in the background with white watercolor, and I wrote my note on the back in gold paint pen.
I couldn’t decide if I liked the card or not, but I really loved making little trees! I made some in a few colors and sizes and lengths, and I decided to share this tree pattern for free here for all your holiday card making, garland making, gift-topper making, ornament-making, and more!
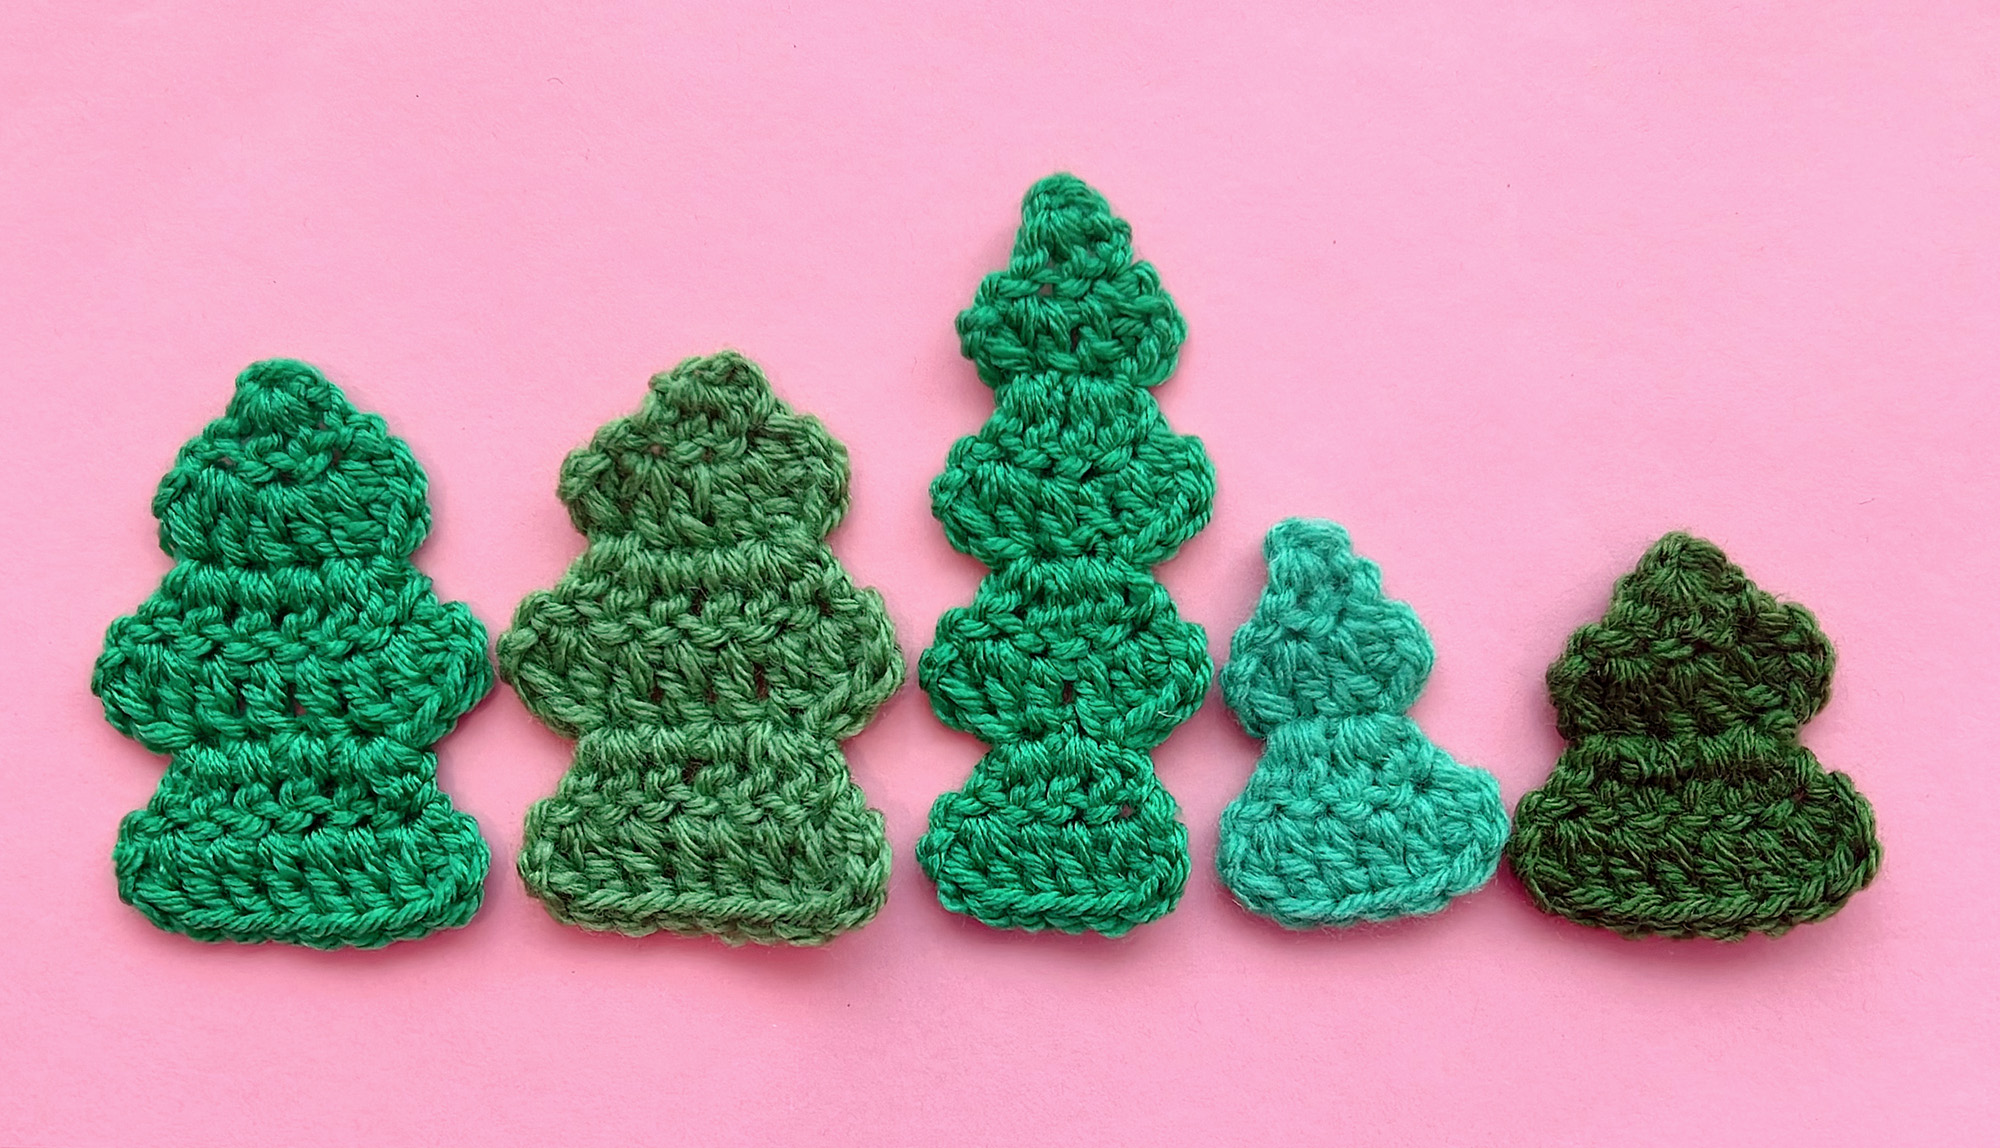
If you scroll down below, you can see that I also gave you the pattern for the thinner tree so you can play with variety. Once you get the general hang of the pattern, you’ll see how easy it is to change it up and get really creative. Don’t forget to tag me @twinkiechan on social media so I can see!
Materials
- I used worsted weight yarn, specifically, Lion Brand Vanna’s Choice and Impeccable by Loops & Threads. It’s also fun to play with different yarn weights and different colors, or using different colors in different sections of the tree, or double stranding different colors.
- H/5.0mm crochet hook
- Scissors or snips
- Tapestry needle (this is my favorite size)
- Optional: decorations for your trees. A few suggestions are (1) 5mm/6mm pompoms and FabriTac glue or (2) seed beads and needle and sewing thread to match your tree or (3) plastic cabochons and Super Glue Gel or GemTac.
- Optional: if you’re making holiday cards, you’ll need card stock or plain greeting cards (I bought a pack of these and use them for everything) and hot glue or Tacky Glue.
Abbreviations in U.S. Terms
ch(s) – chain(s)
dc – double crochet
RS – right side
Sl st – slip stitch
st(s) – stitch(es)
WS – wrong side
( ) – work everything inside the parentheses into the next st, e.g. (2 sc) means 2 single crochet in the next st
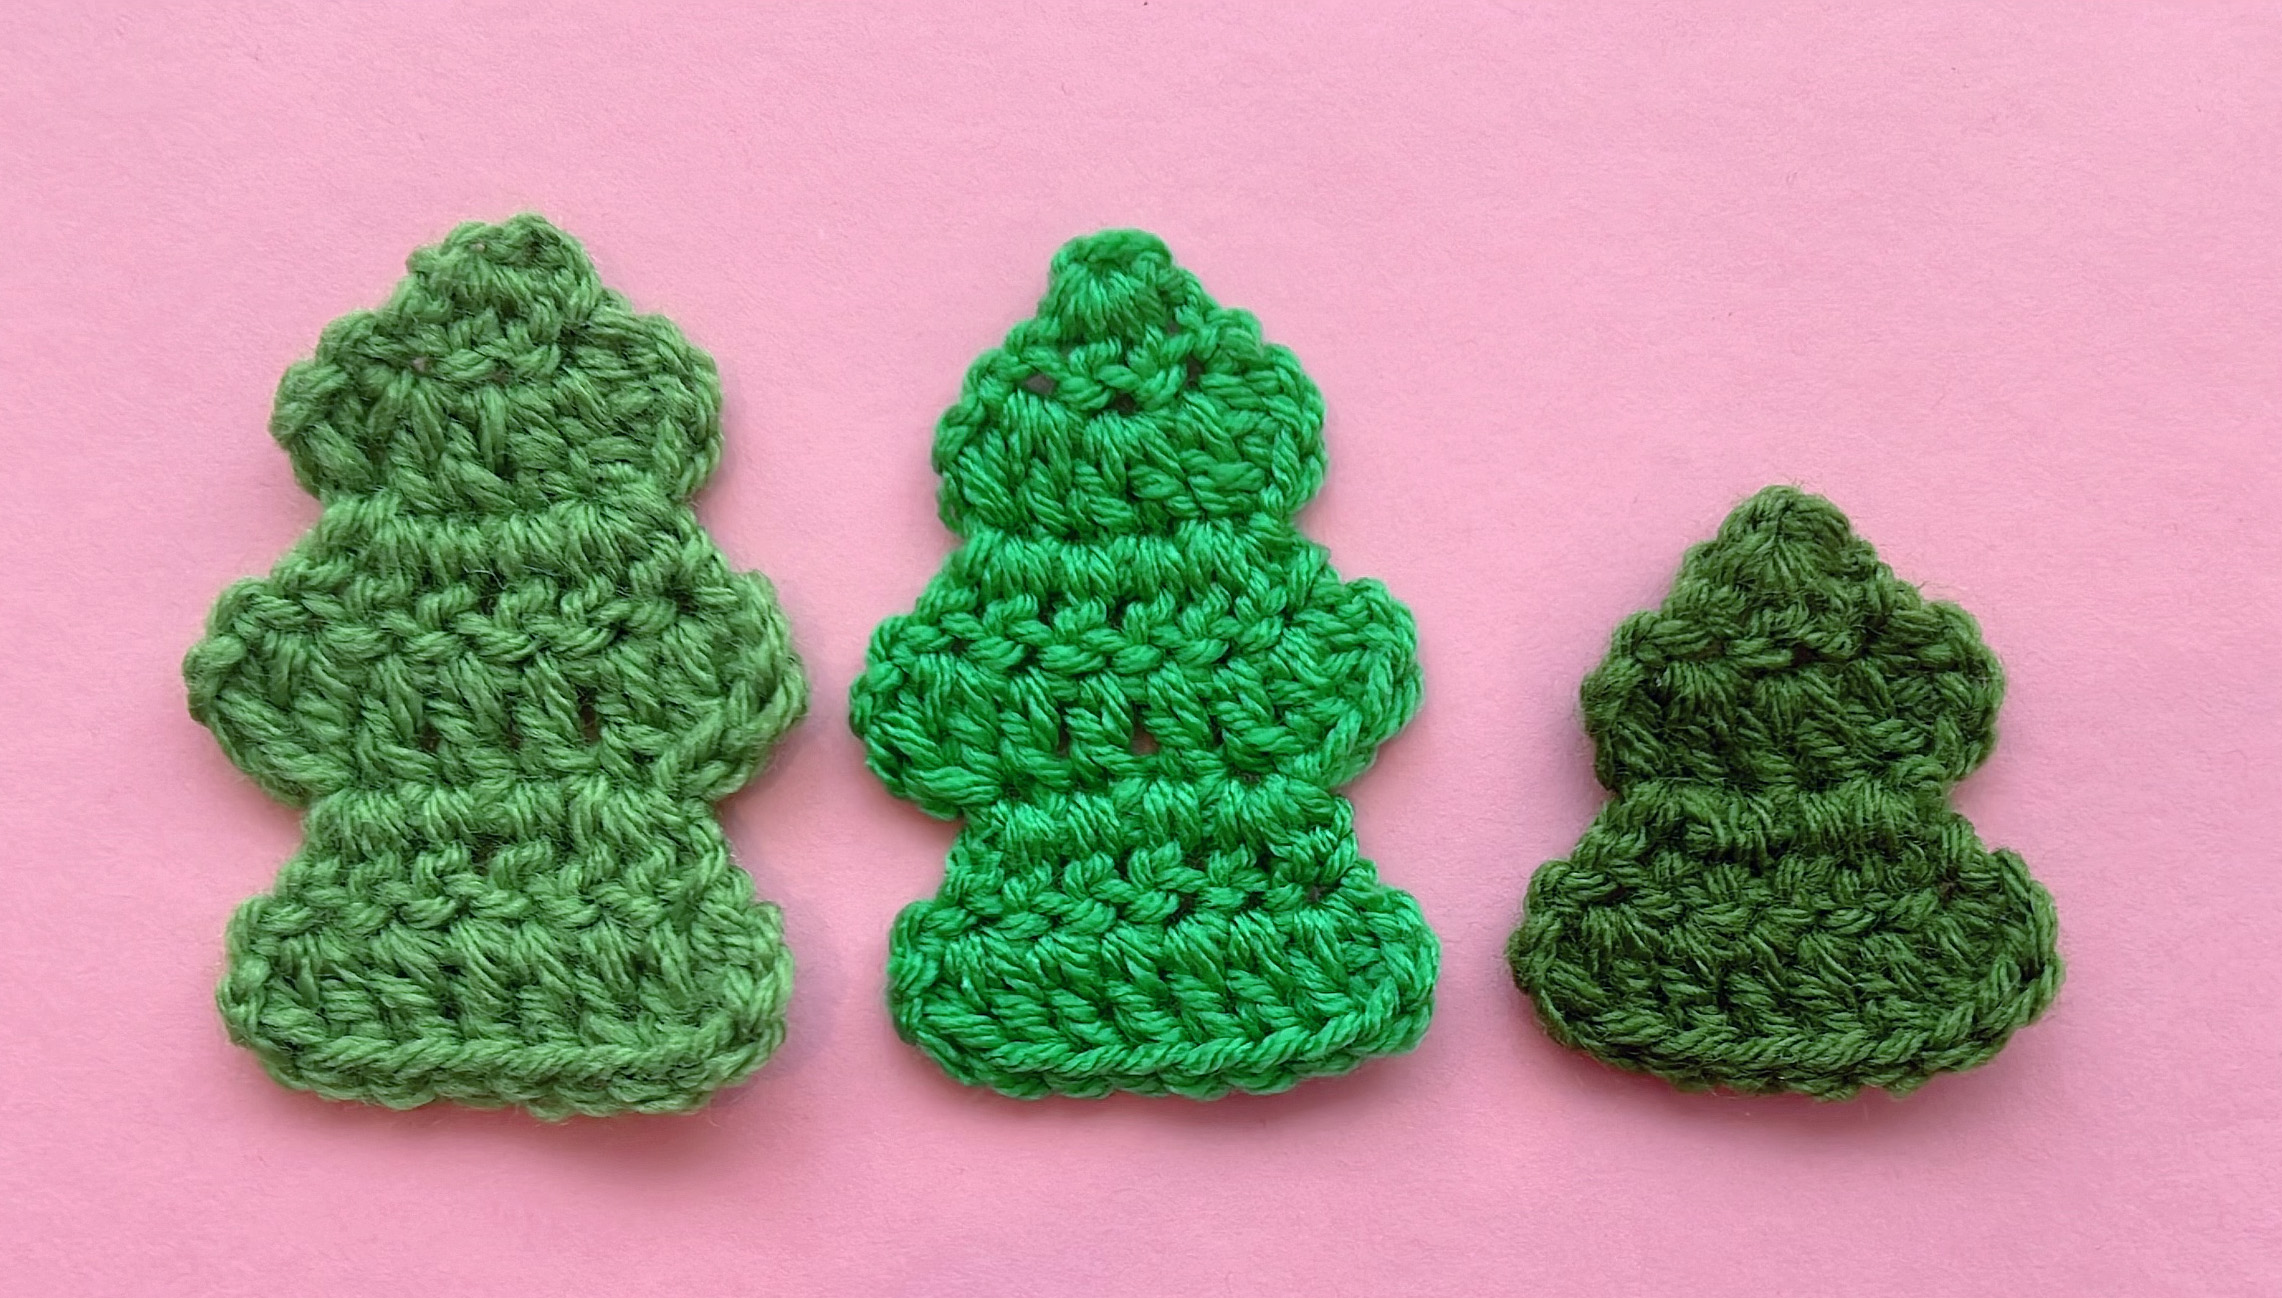
Little Christmas Tree Applique Pattern
- Make magic circle or ch 3 and sl st to 1st ch to form ring.
Row 1: Ch 2 [turning ch doesn’t count as 1st st anywhere in this pattern], 3 dc into ring. – 3 sts
Row 2: Ch 2, turn. (2 dc) 3 times, ch 2 and sl st into last st to create a rounded edge that mimics the beginning of the row. – 6 sts
- Break off. This is the top of the tree.
- Turn. With WS of Row 2 facing you, re-join Green into 2nd dc from the right.

Row 3: Ch 2 and (2 dc) in same st, 2 dc, (2 dc). Leave last st unworked. – 6 sts
Row 4: Ch 2, turn. (2 dc), 4 dc, (2 dc), ch 2 and sl st into last st. – 8 sts
- Break off.
- Turn. With WS of Row 4 facing you, re-join Green into 3rd dc from the right.
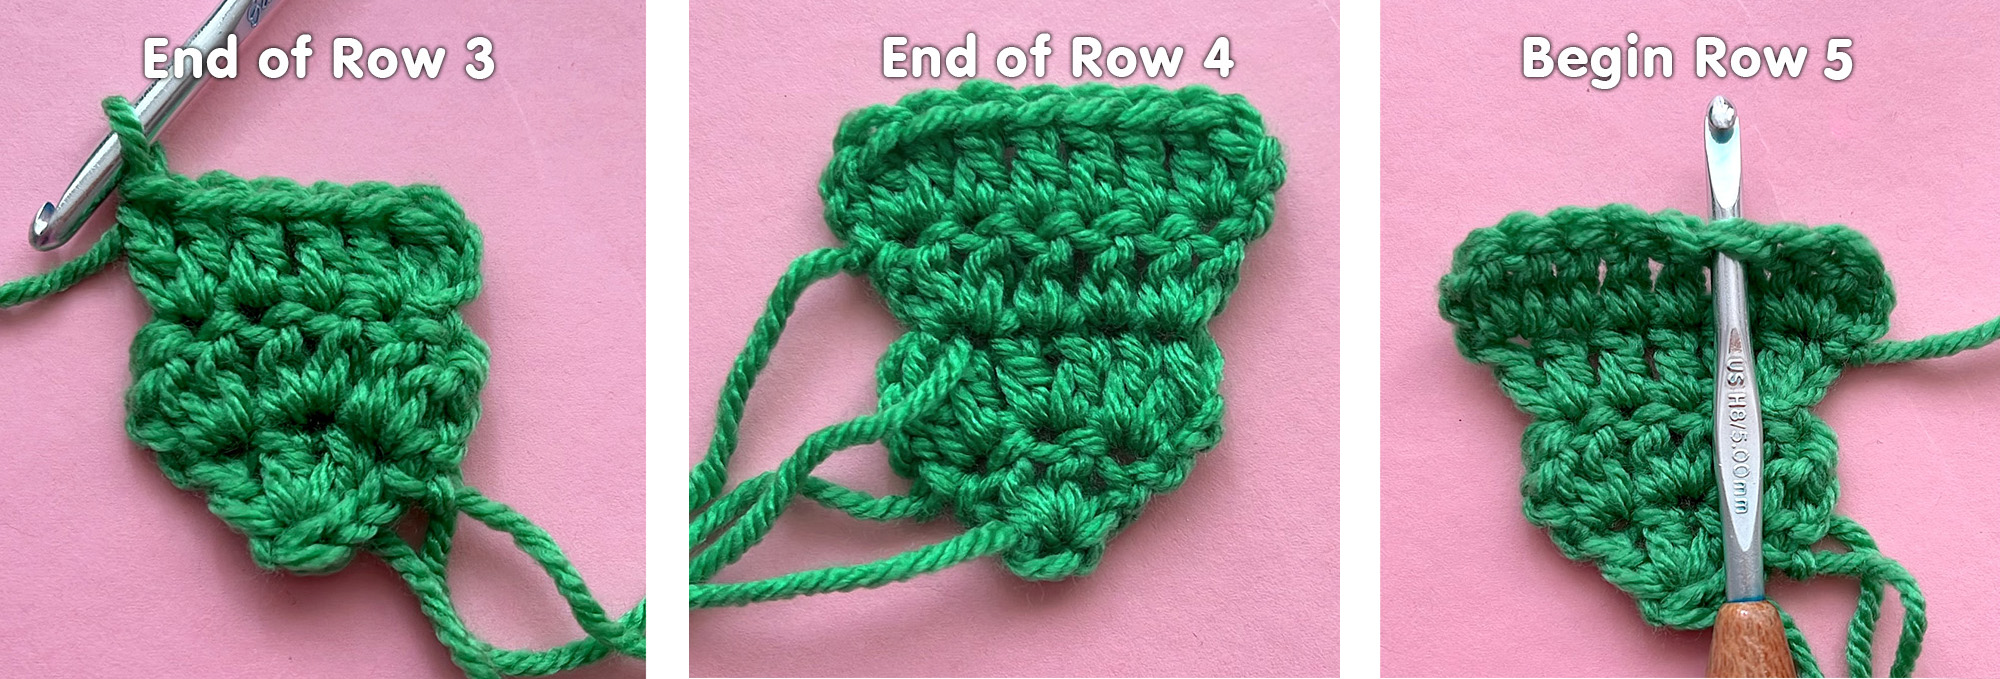
Row 5: Ch 2 and (2 dc) in same st, 2 dc, (2 dc). Leave last 2 sts unworked. – 6 sts
Row 6: Repeat Row 4. – 8 sts
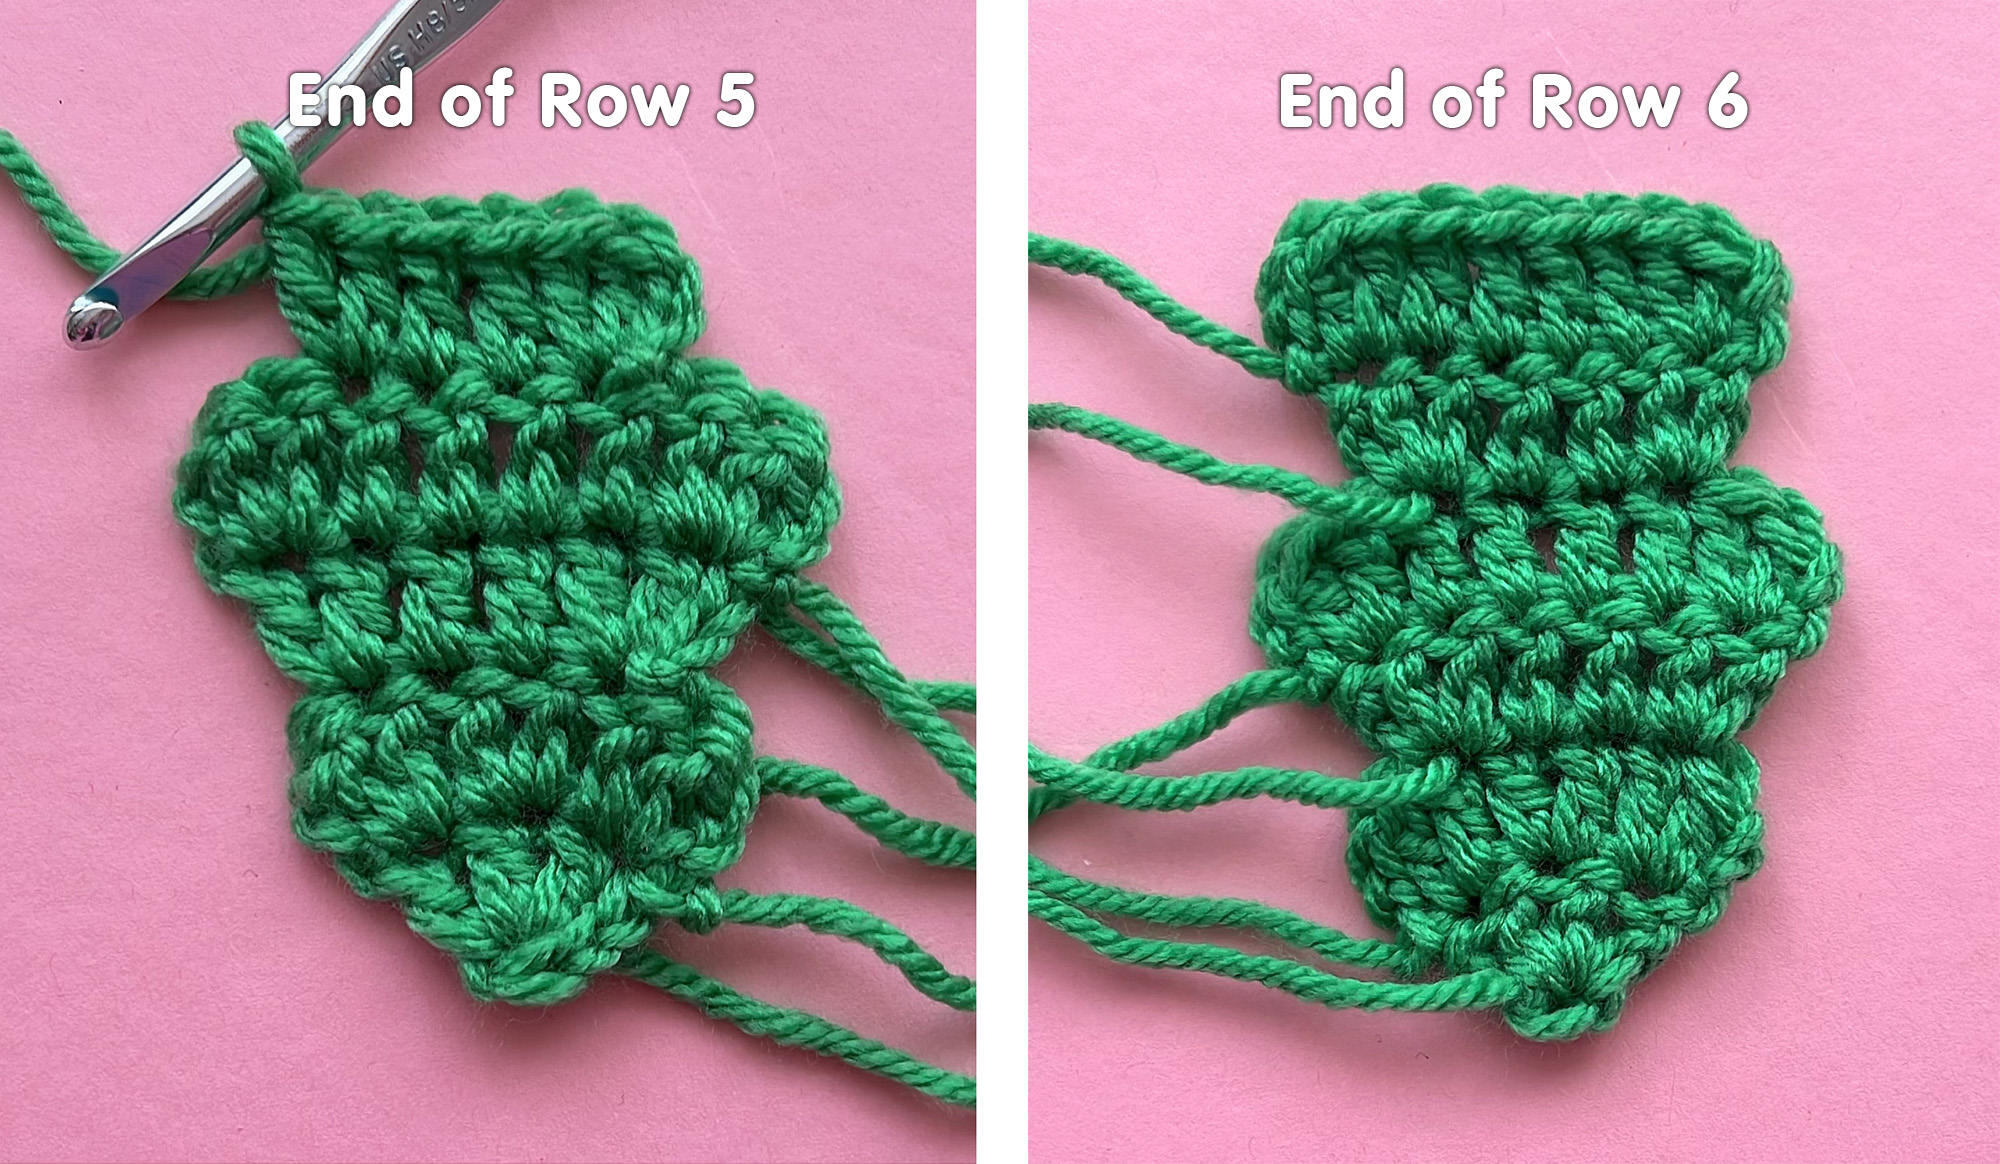
- Break off leaving. Weave in all other ends.
Little Christmas Tree Applique Pattern – Thinner Version
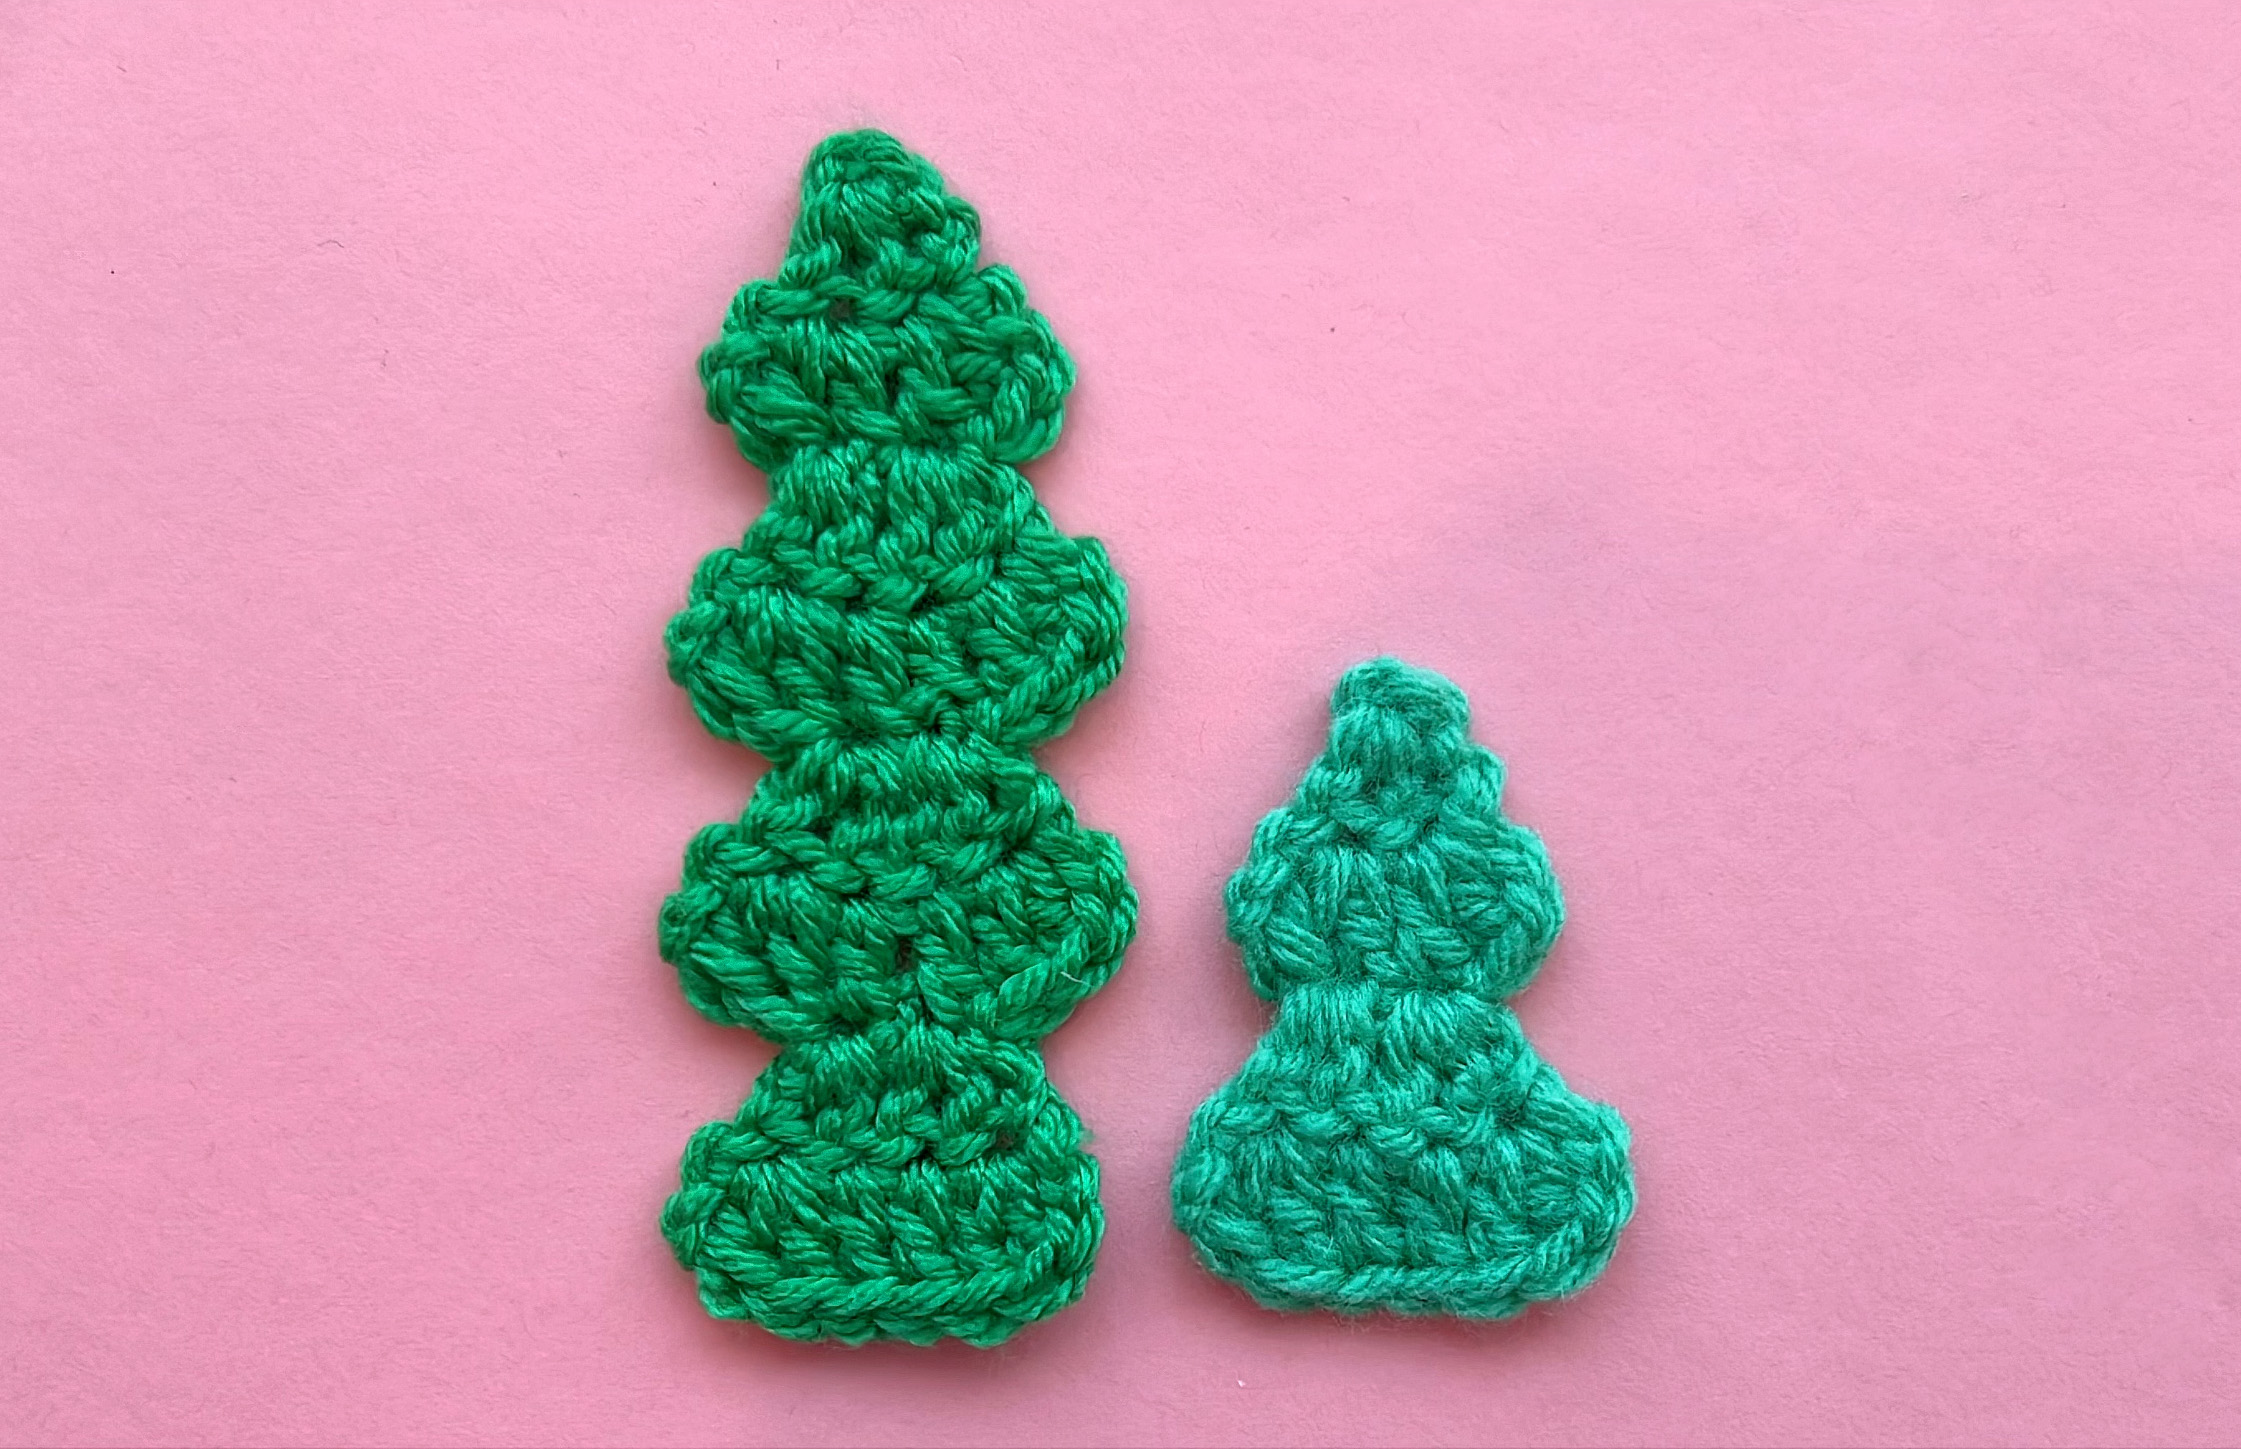
- This is the same concept as above except the tree is less wide. On the left, I repeated the last 2 rows to get a 4th tier on the tree, and on the right, I ended after Row 4 for a shorter tree.
- Make magic circle or ch 3 and sl st to 1st ch to form ring.
Row 1: Ch 2 [turning ch doesn’t count as 1st st anywhere in this pattern], 2 dc into ring. – 2 sts
Row 2: Ch 2, turn. (2 dc) 2 times, ch 2 and sl st into last st to create a rounded edge that mimics the beginning of the row. – 4 sts
- Break off. This is the top of the tree.
- Turn. With WS of Row 2 facing you, re-join Green into 2nd dc from the right.
Row 3: Ch 2 and (2 dc) in same st, (2 dc). Leave last st unworked. – 4 sts
Row 4: Ch 2, turn. (2 dc), 2 dc, (2 dc), ch 2 and sl st into last st. – 6 sts
- Break off.
- Turn. With WS of Row 4 facing you, re-join Green into 3rd dc from the right.
Row 5: Ch 2 and (2 dc) in same st, (2 dc). Leave last 2 sts unworked. – 4 sts
Row 6: Repeat Row 4. – 6 sts
- Break off and weave in all ends.
Some of you will probably be asking if you can use slip stitches instead of having to break off and re-join yarn. Yes, you absolutely can. However, I found that doing so created a pointier edge to the trees, so I’d have one side with rounder edges than the other, and that bothered me. If this doesn’t bother you, feel free to leave out the final “ch 2 and sl st into last” in Rows 2 and 4, and instead, turn and the then sl st to get to the right spot for the next row.
All photos and text are copyright © 2022 Twinkie Chan. All rights reserved. Please do not sell or distribute this pattern in part or in whole. You may sell finished items that you hand-make from this pattern with a credit to “Twinkie Chan” as the designer in online listings, hangtags, and signage, but please do not mass produce without my permission. If you have any questions, please contact me!


