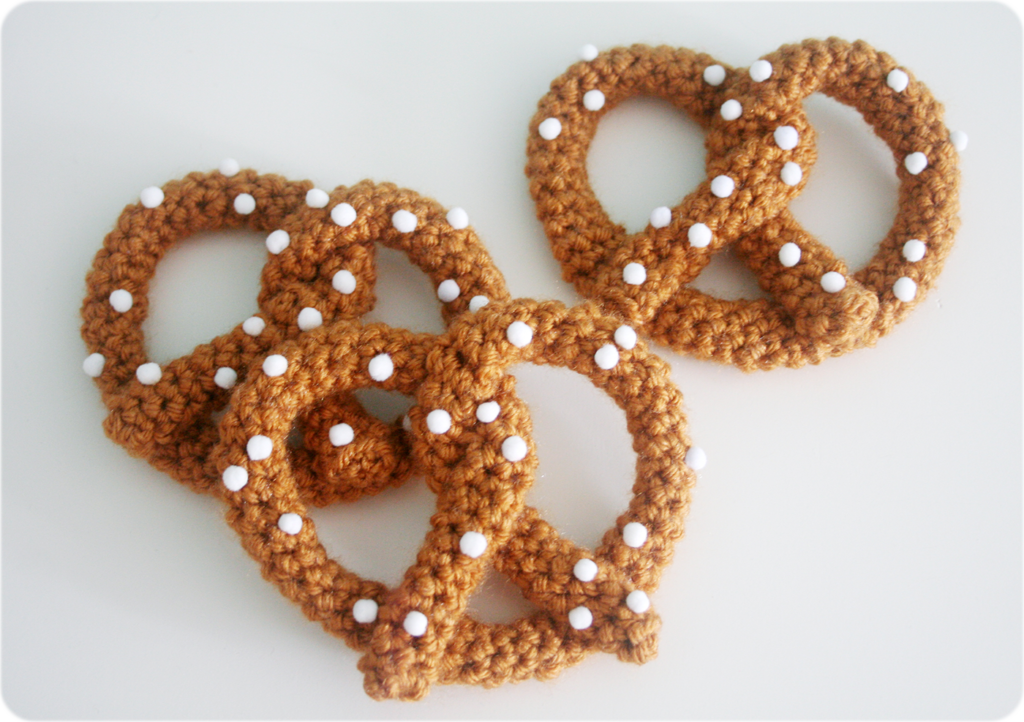
Here’s an oldie but a goodie. Are wearable pretzels cool anymore? I remember when I first started making these for my craft shows, they were really really popular!
The pattern is so easy that I never posted it anywhere. It did appear in Simply Crochet Magazine Issue 30 which was many many years ago!
A few people have asked about it recently, so I dug up some photos and notes and put a pattern together for you. Please enjoy, and I expect to see lots of cute outfits with your new crocheted pretzel brooches! Printer-friendly version is available in my Etsy shop for just $2.00.
MATERIALS
Some of my materials links (they’re clickable) are affiliate links, which means I earn a very small percentage of the sale if you purchase from my link.
- Approx. 25 yards of worsted weight yarn in Tan, like Lion Brand Vanna’s Choice in Honey
- White 5mm pompoms and FabriTac or your favorite fabric glue
- 1″ bar pin back if you are making a brooch plus a hot glue gun or needle/thread to attach the pin back
- H8/5.00mm crochet hook [this is the one I use every day]
- Scissors [cute as heck]
- Tapestry needle [my favorite size]
- Sewing pins
GAUGE
Gauge is not very important for this project, but I’ll let you know what gauge I worked in: 14 sc x 16 rows = 4 inches x 4 inches
FINISHED SIZE: Approx. 4 inches wide x 3 inches tall
ABBREViATiONS in U.S. TERMS
ch(s): chain(s)
sc: single crochet
sl st: slip stitch
st(s): stitch(es)
DIRECTIONS
- Make magic circle or ch 3 and sl st to 1st ch to form ring.
- Ch 1 and work 5 sc into ring. Don’t join rounds. Ch 1 doesn’t count as a stitch. – 5 sts
- Continue to work 1 sc in each sc, around and around, forming a tube, until the tube is about 17 – 17.5 inches long. – 5 sts
- Sl st to next st to join. Break off yarn.
- With tapestry needle and yarn tail, weave through remaining 5 sts and pull to close. Tie off and weave in all ends.
- Fold each end of the tube toward the tube’s center to form a basic pretzel shape. Pin the ends to the pretzel as a temporary marker.
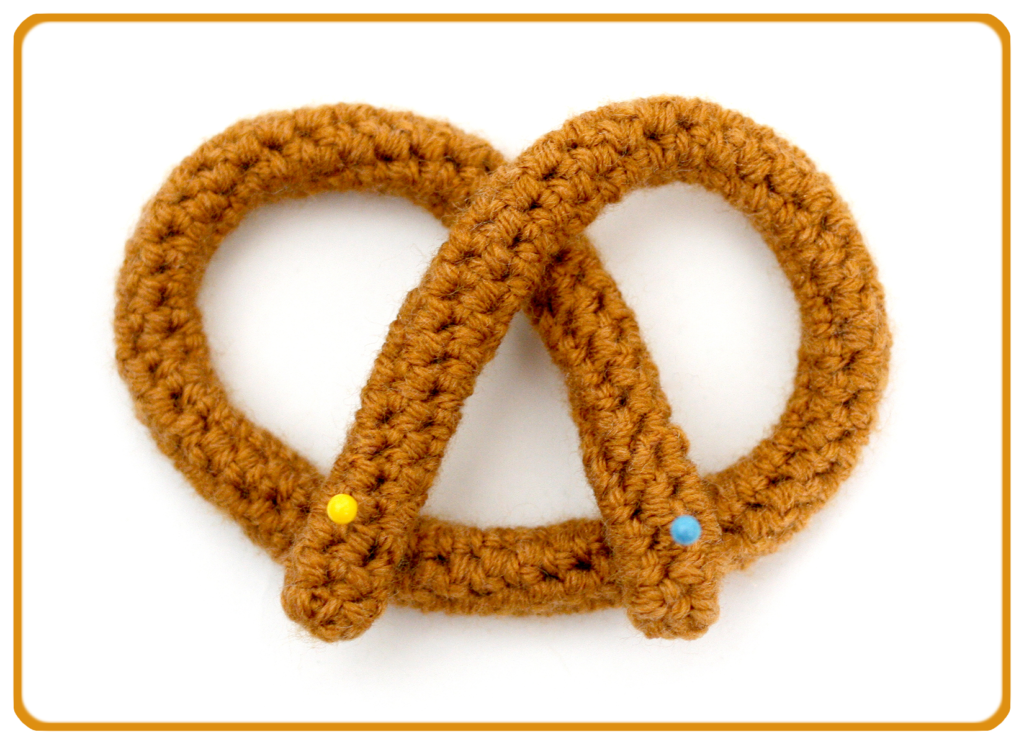
7. Release the pins to give the ends one more twist so that the pretzel has a double-twist in the center. I like to then use the pins to keep a mark on the pretzel so that I know where the ends go again. After twisting, pin the ends down. You can keep adjusting the shape with pins until it’s perfectly pretzel-y.
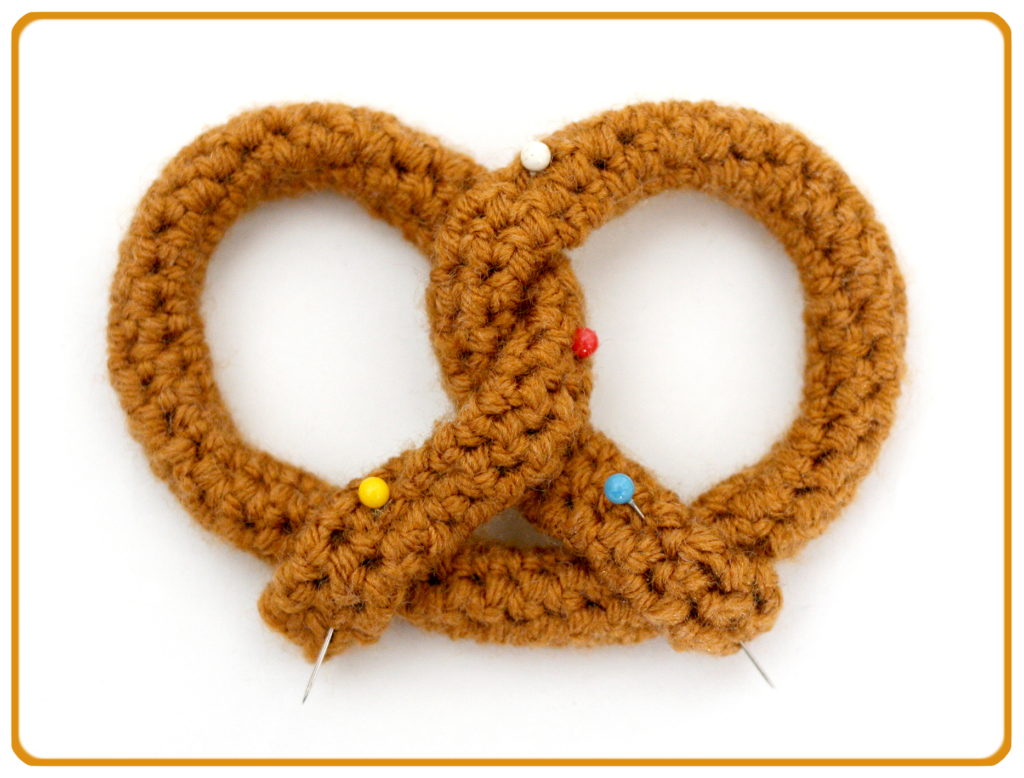
8. Sew down the pretzel ends as well as the twist at the center so that it doesn’t shift around with use. I try to make sure that my sewing stitches are not too visible from the front. If you prefer, you can also use hot glue.
9. Arrange 5mm white pompoms, beads, or tiny felt pieces for your “salt” and then glue down or sew.
10. When the glue is dry on your pompoms, hot glue a pin back to the back of the pretzel. I glue mine vertically to follow along the center, but you can play with various placements.
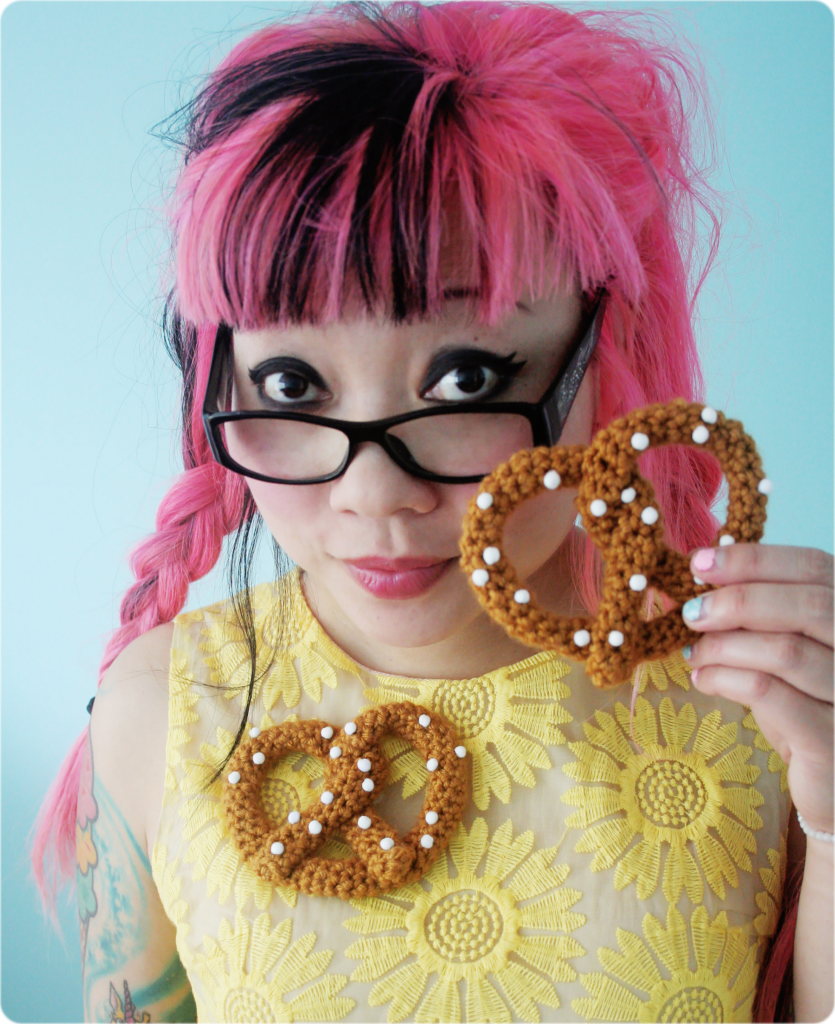
Now you can wear your new pretzel creation with your favorite outfit!
