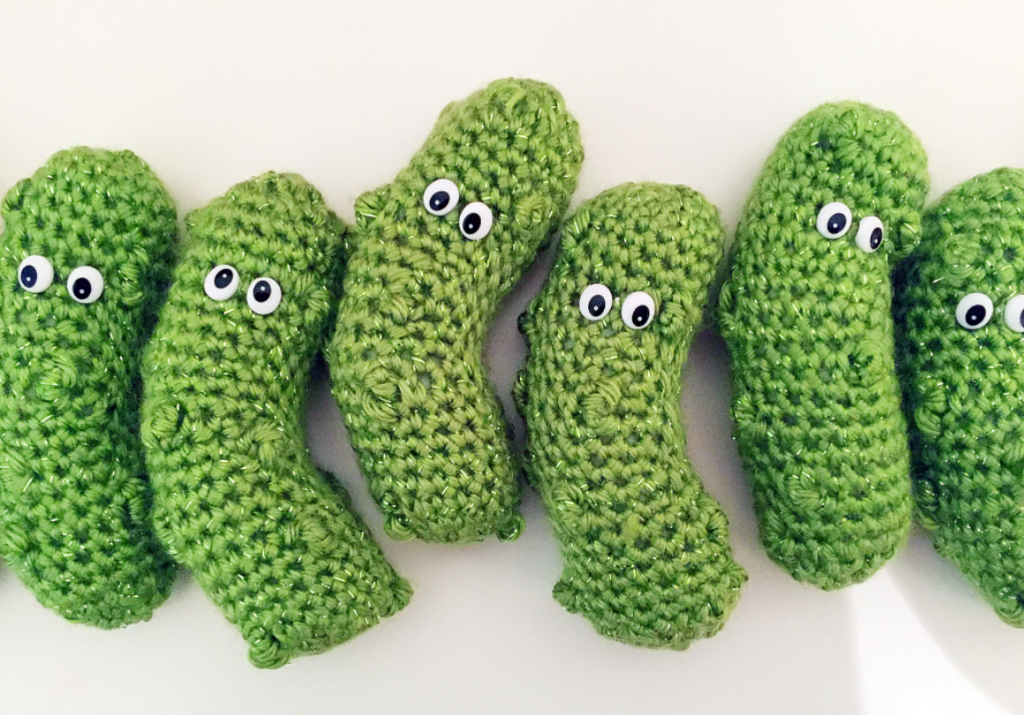
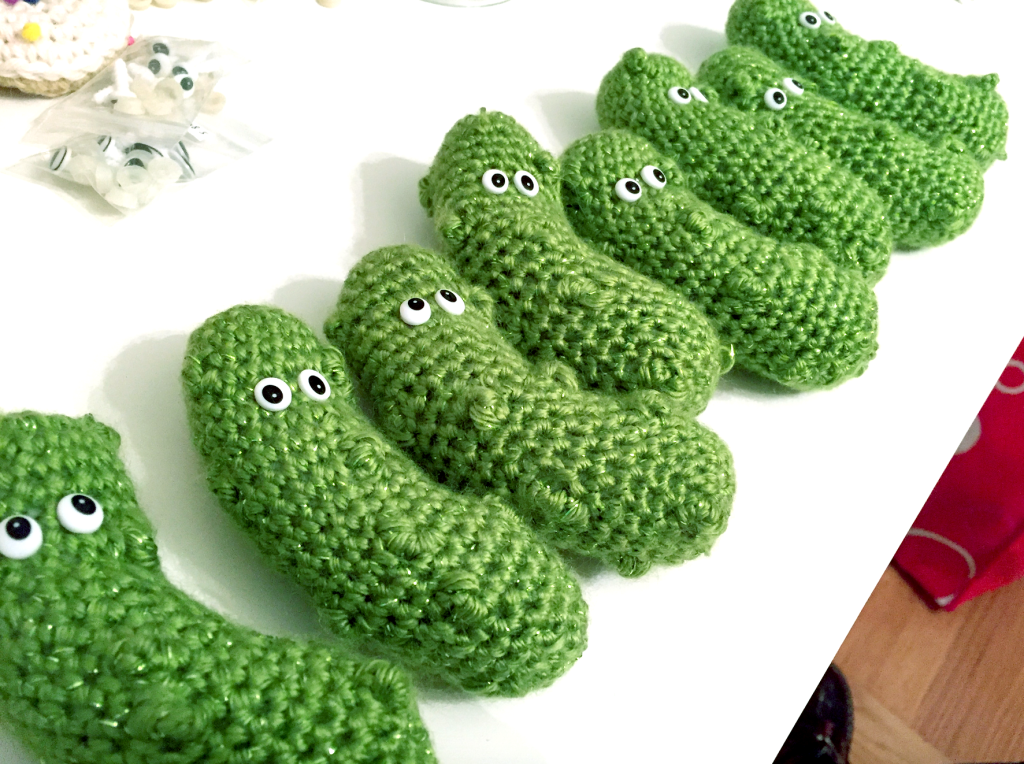
 In the spirit of Christmas Eve, I’m posting my crochet pattern for my Christmas Pickles! I really wanted to do a YouTube video for these, but I just don’t have time to do it before Christmas. Like, I could shoot it and everything, but the editing process takes forever! If you guys still want a video after the holidays, I’ll add one!

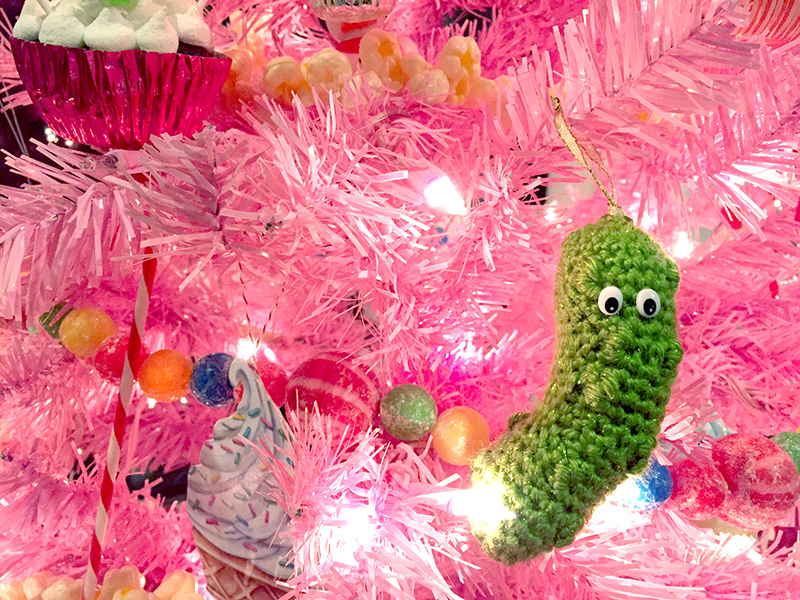
There are a few different versions of the significance of the Christmas Pickle. Feel free to Wiki it. It appears people think the tradition came from Germany, but it really might be a mid-Western thing. The first child who finds the pickle in the tree on Christmas morning gets an extra present. OR, the first person to unpack the pickle while decorating the tree gets an extra present. OR, while we were in Seattle, someone told one more possibility, which I don’t remember. Pretty much: make up whatever you want, and create your own traditions!
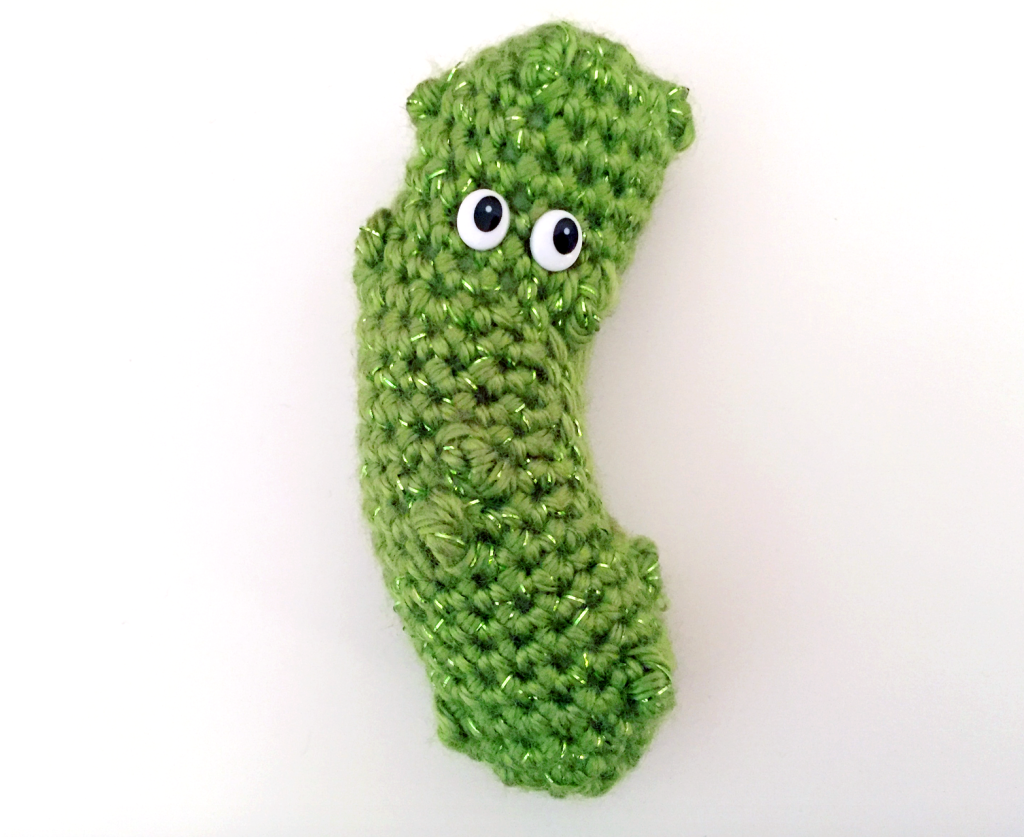
 I’m not a super-fast crocheter (I don’t like to feel like I’m in a rush … I like to enjoy the process!) and I can finish a pickle in 30-45 minutes. I like using this sparkly green worsted weight yarn, but you can use whatever green yarn you like. The pickle is basically just a log with a curve in it. We create this curve by putting shorter stitches in one section of the pickle. The bumps are created by randomly swapping out a single crochet with a triple crochet. It’s really easy!
 I think they look funny with eyes, but that is also entirely up to you. Let’s get started!
What You’ll Need (contains affiliate links):
- Worsted weight green yarn. I’m using Caron Simply Soft Party in Spring. It’s a bit heavier than regular Caron Simply Soft, and I can find it at JoAnn Fabrics.
- H8/5.00mm crochet hook
- tapestry needle
- scissors
- stitch marker or piece of scrap yarn to keep your place
- polyester stuffing
- optional: thread or ribbon to create a hanging loop, and safety eyes. Get 6mm or 9mm safety eyes if you’re using those black ones at the craft store. I buy these funny ones on Etsy. They are a huge pain to install properly, so what I do is use a button shank-remover to snap the posts off the eyes, and then I super glue the eyes on the pickle.
Abbreviations:
ch(s): chain(s)
inv dec: invisible decrease, but you could also use sc2tog
sc: single crochet
sl st: slip stitch
st(s): stitch(es)
rnd(s): round(s)
tr: triple crochet
( ): work everything in the parenthesis into the next stitch
[ ]: work everything in the brackets the number of times indicated
Finished Size:
Should be about 4.5 inches in length.
Skill Level:
I would say advanced beginner. You should know how to work in the round and how to work a slip stitch, single crochet, and triple crochet. You will need to have a fair amount of control while working the slip stitch sections of this pattern.
Notes:
- I prefer the right side of your work to show on the outside of the pickle. The bumps in the pickle are made by occasionally replacing an sc stitch with a tr stitch and popping it in towards you. If you want the wrong side of your work to show on the outside of the pickle, that’s fine. Then your tr’s will appear on the back of your work, which will be the outside of the pickle. I won’t write in all the tr’s, so just remember to work some in every now and again to give your pickle some texture.
Pickle:
Make magic ring, or ch 3 and sl st to 1st ch to form ring.
Rnd 1: Ch 1, 6 sc into ring. (6) Don’t join rnds.
Rnd 2: (2 sc) 6 times. (12)
Rnd 3: [(2 sc), 1 sc] 6 times. (18)
Start using a stitch marker here to mark the begining of your rounds.
Rnds 4-8: Sc evenly around (remember to occasionally work a tr instead of an sc). (18)
Here’s where we’ll start shaping the pickle using sl sts. Since we’re working in a spiral but want our slip stitches to stay within one region of the pickle, we have to keep altering the sl st pattern a bit to fight the spiral. You CAN work a tr instead of a sl st in this section, but you have to be careful that the sl sts around the trs don’t get pulled too tightly, or it will be really hard to work in them in the next rnd. Make sure to work all your sl sts pretty loosely so you can get your hook into them in the next rnd.
Rnd 9: Sl st 6 times, then 12 sc evenly. (18)
Rnd 10: 1 sc, 6 sl st, 11 sc. (18)
Rnds 11-12: 2 sc, 6 sl st, 10 sc. (18)
Rnds 13-14: 3 sc, 6 sl st, 9 sc. (18)
Rnds 15-16: 4 sc, 6 sl st, 8 sc. (18)
Rnds 17-18: 5 sc, 6 sl st, 7 sc. (18)
Rnds 19 – 23: sc evenly around. (18)
With normal safety eyes, I would go ahead and place them and install them now, but if you’re gluing your eyes on, you can just do that at the very end.
Also start stuffing the pickle, and stuff some more after Rnd 24 if you feel you need to.
Rnd 24: [inv dec, 1 sc] 6 times. (12)
Rnd 25: inv dec 6 times. (6)
Sl st to next st to join. Break off, weave through remaining 6 sts, pull to close. Tie off and weave in end.

***
A note about selling items from my patterns: My new approach is that you are welcome to sell items you make from my patterns. I would really appreciate a design credit in your online listings or on your hang tags at selling events. I put a lot of love and work into my designs! However, you may not sell or distribute the actual pattern.


