I have a super cute new (and quick and easy!) pattern for you guys! Chocolate Easter Bunny mini plushies!! You can use them as hair clips, brooches, ornaments, cupcake toppers, or just fun little Easter Basket-stuffers. I didn’t have time to crochet these in time for my Etsy shop to ship out before Easter, but at least the crocheters out there still have some time to make some of their own! One bunny takes me about 30 minutes from start to finish (including taking photos!).
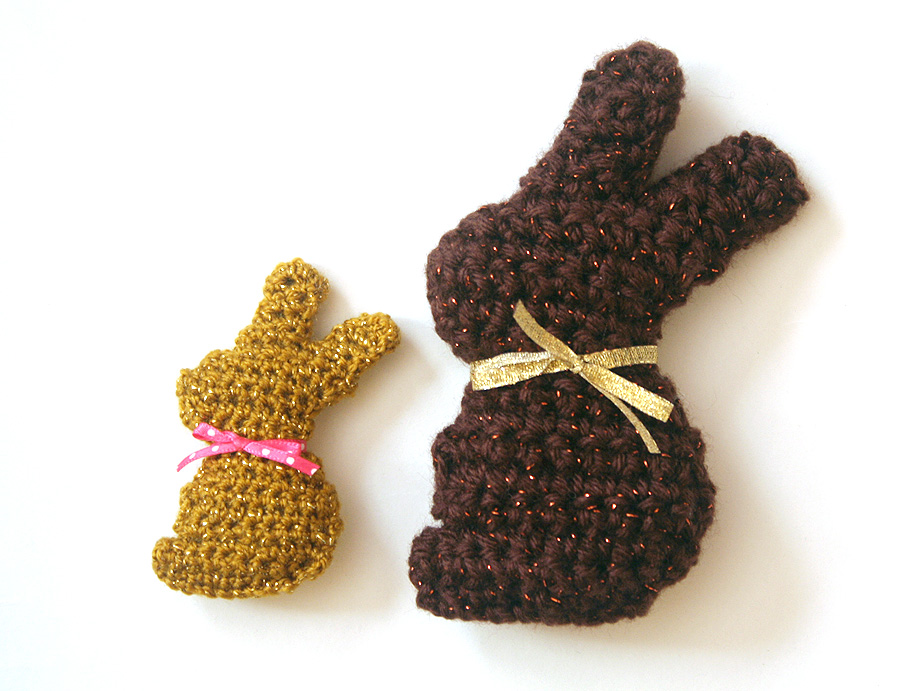
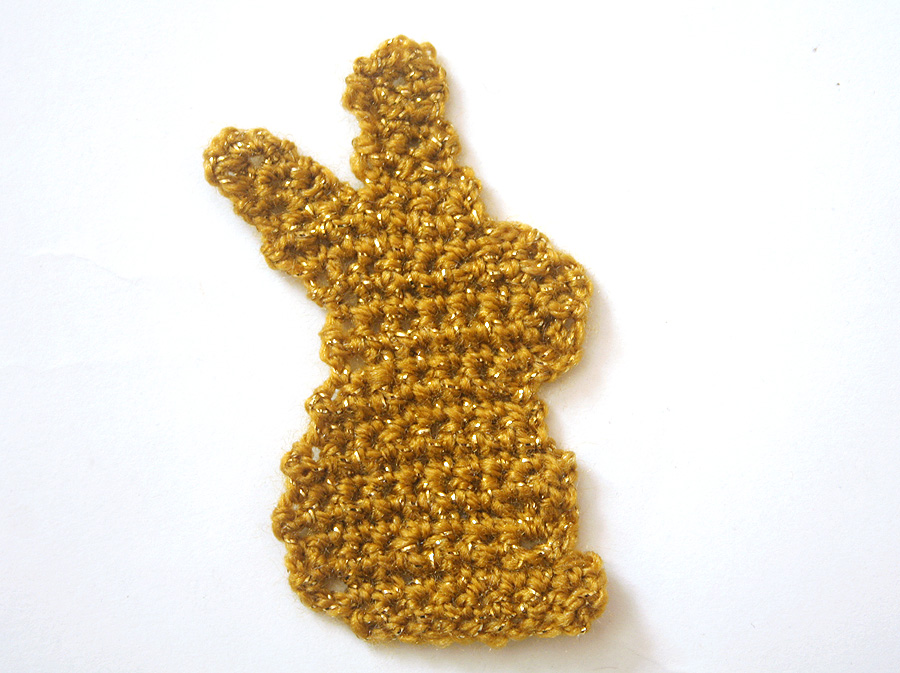
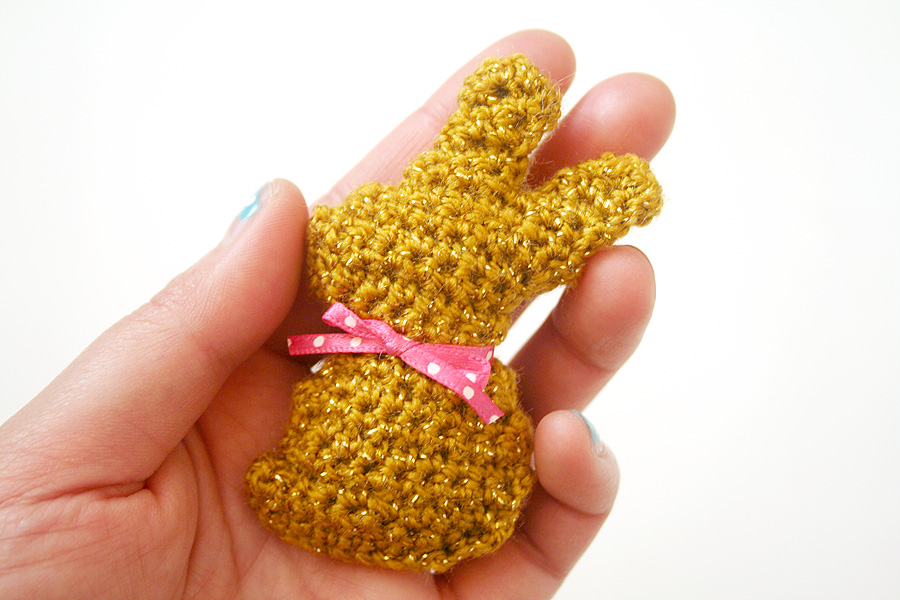 You can make chocolate bunnies of all different sizes depending on the yarn you want to use. While figuring out the pattern, I used a worsted weight, Lion Brand Vanna’s in Chocolate, which gave me a bunny that’s about 5 inches tall. My goal was to make something tiny and gold, like the chocolate bunnies wrapped in gold foil, so then I made one with Lion Brand Vanna’s Glamour in Gold, which gave me a bunny that’s about 3 inches tall.
Wrap them up in a little bit of cellophane and ribbon for a cute presentation! Enjoy!
 EDIT: I just added a video tutorial for this on YouTube as well! 🙂 Here’s the link!
Chocolate Easter Bunny Mini-Plush
Designed by Twinkie Chan
Instead of using sc2tog or “dec” to decrease stitches in this pattern, I just skipped stitches instead to make the pattern as easy as possible!
Materials List
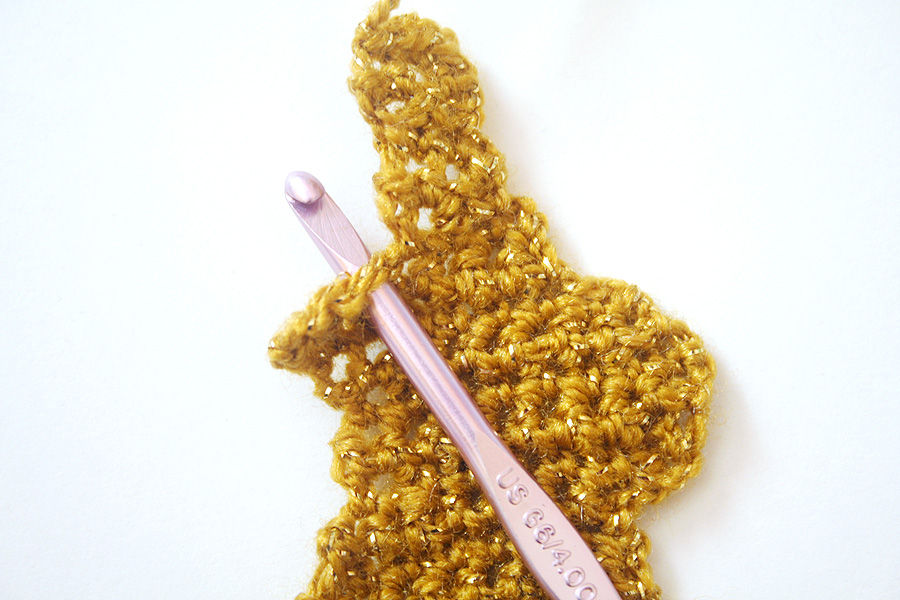
- Crochet Hook: I used an H8/5.0mm hook for worsted weight yarn, and a G6/4.00mm hook for Vanna’s Glamour
- Yarn: this is entirely up to you! I wrote the pattern for Lion Brand Vanna’s Glamour in Gold to make a small bunny, but you can really use whatever you want!
- Small amount of polyfill. You can also stuff your bunny with extra yarn of the same color you worked in.
- Optional: Small amount of thin ribbon to tie around your bunny’s neck.
- scissors or yarn cutter
- tapestry needle for weaving in ends
Gauge
Exact gauge is not essential in this pattern.
Finished Size
Using LB Vanna’s Glamour: approx 3 inches tall and 2 inches wide
Using LB Vanna’s Choice: approx 5 inches tall and 3 inches wide
Abbreviations
ch(s) = chain(s)
sc = single crochet
sk = skip
sl st = slip stitch
st(s) = stitch(es)
( ) = work everything in the parentheses into the next stitch
Bunny Side A
– You’ll be working Side A from the bottom of the bunny to the tips of the ears.
Ch 9
Row 1: Sk 1st ch, 8 sc. (8)
Row 2: Ch 1, turn. 7 sc, (2 sc). (9)
Row 3: Ch 1, turn. (2 sc), 5 sc, sk 1 st, 1 sc. Leave remaining st unworked. (8)
Row 4: Ch 1, turn. (3 sc), 7 sc. (10)
Row 5: Ch 1, turn. 1 sc in each st. (10)
ROw 6: Ch 1, turn. Sk 1st st, 9 sc. (9)
Row 7: Ch 1, turn. Sk 1st st, 8 sc. (8)
Row 8: Ch 1, turn. Sk 1st st, 7 sc. (7)
Row 9: Ch 1, turn. Sk 1st st, 5 sc. (2 sc). (7)
Row 10: Ch 2, turn. Sk 1st ch, (2 sc), 5 sc, sk 1 st, 1 sc. (8)
Row 11: Ch 1, turn. 1 sc in each st. (8)
Row 12: Ch 1, turn. 1 sc in each st. (8)
Row 13: Ch 1, turn. (2 sc), 5 sc, sk 1 st, 1 sc. (8)
Row 14: Ch 1, turn. Sk 1st st, 6 sc, (2 sc). (8)
Row 15: Ch 1, turn. 7 sc, leaving last st unworked. (7)
Row 16a: Ch 1, turn. Sk 1st st, 3 sc. (3)
Row 17a: Ch 1, turn. (2 sc), sk 1 st, 1 sc. (3)
Row 18a: Ch 1, turn. Sk 1st st, 1 sc, (2 sc). (3)
Row 19a: Ch 1, turn. (2 sc), sk 1 st, 1 sc. (3)
Row 20a: Ch 1, turn. Sk 1st st, (2 sc), sl st (3). Break off.
Re-join yarn into the next free stitch from Row 16.
 Row 16b: Ch 1, 3 sc evenly. (3)
Row 17b: Ch 1, turn. (2 sc), sk 1 st, 1 sc. (3)
Row 18b: Ch 1, turn. Sk 1st st, 1 sc, (2 sc). (3)
Row 19b: Ch 1, turn. Sk 1st st, (2 sc), sl st. (3)
Break off and weave in all ends.
You’ve now completed one side of your bunny.
Bunny Side B
Repeat Bunny side A, except, at the very end, break off leaving about a yard of yarn to sew your bunny together and weave in the other ends.
Assembly
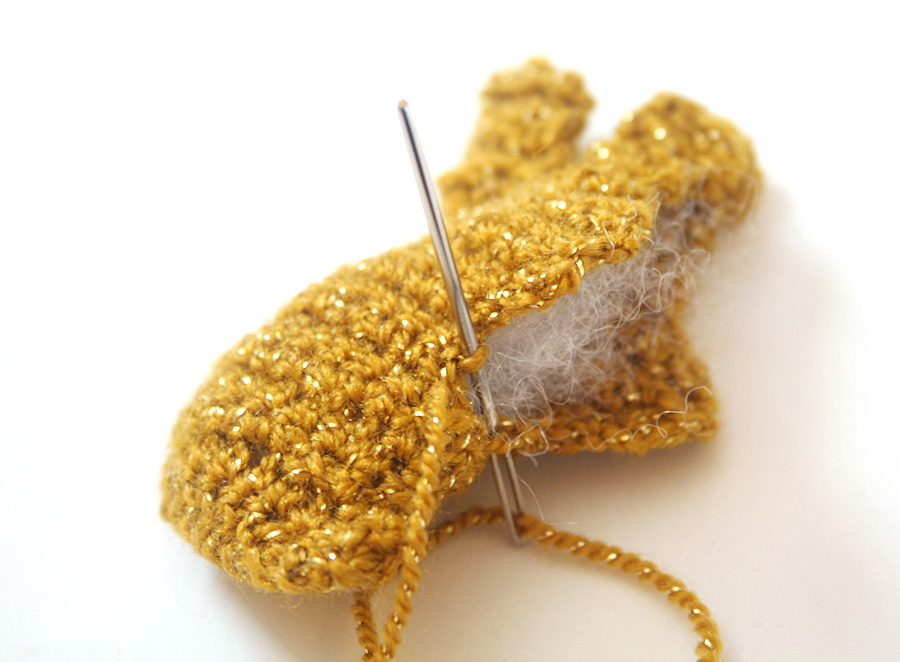 If you want to embroider a face or any details, do so now. Otherwise, just place one side on top of the other and whipstitch the edges together, using a little bit polyfill to stuff it as you go. I just like a little padding to give it some plumpness, but don’t overstuff it or you might warp the shape.
I like finishing mine off with a little red ribbon bow, which you can also sew or glue down for security.