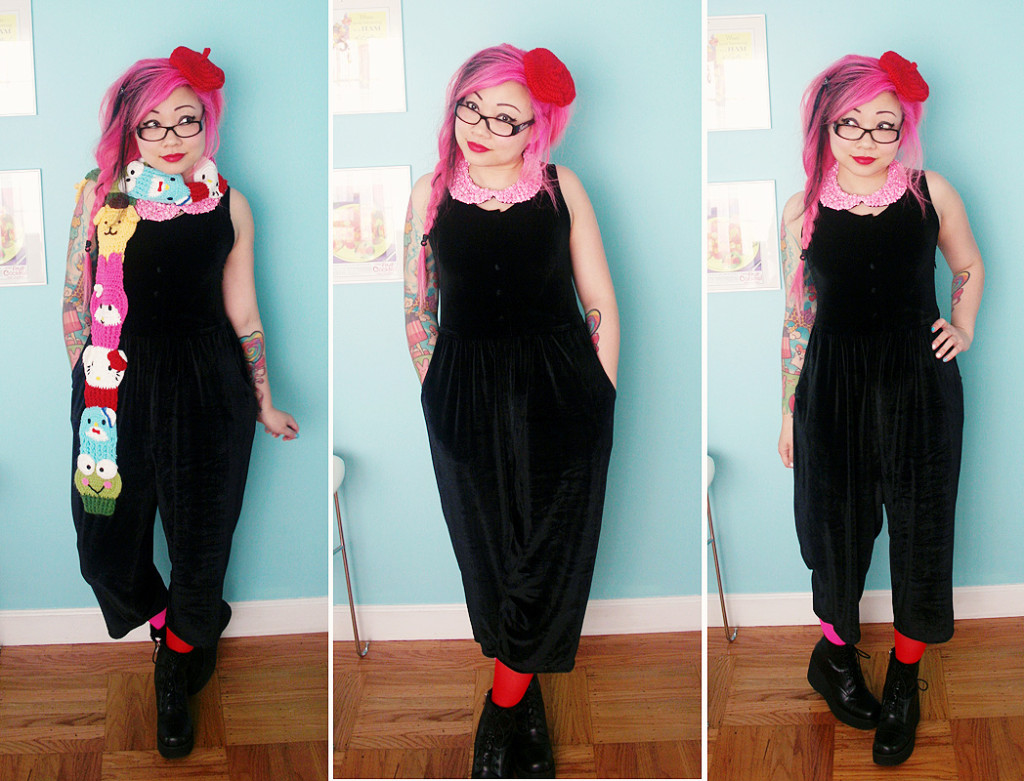
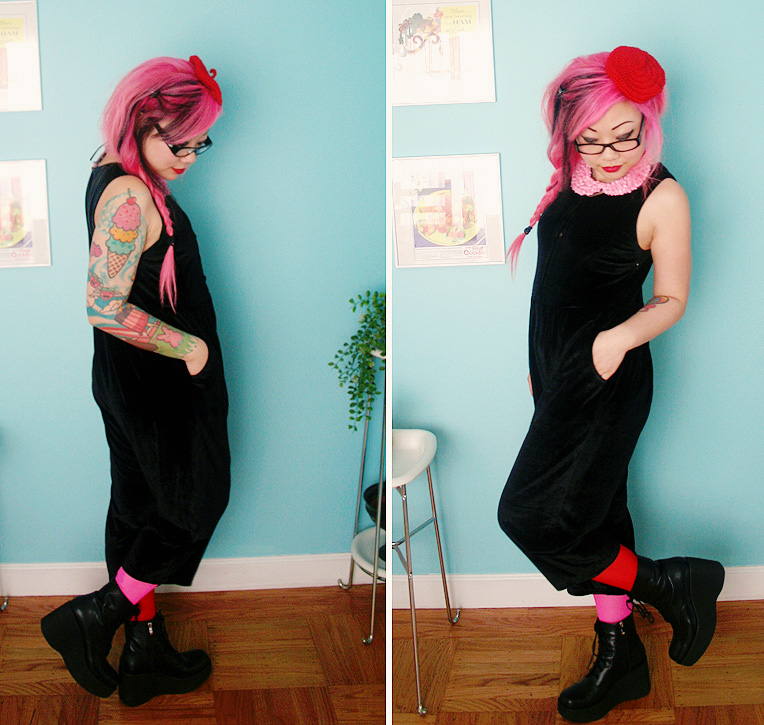
 I have to admit, this outfit is a little bit out-there to me. The main reason: I feel butt-conscious in it. But from the front, I’m totally fine with it. Just, don’t look at my butt…
Anyway, this little black velvet jumpsuit is kind of amazing regardless of the butt thing. Pajama-factor is high as far as comfort, and I love how the legs are short so you can show off some weird mis-matched socks. The leg-length also gives the jumpsuit kind of a nerdy awkward dorky feel, which I know won’t be for everyone, but it’s definitely for me! There are cute velvet buttons down the front, too, but those were hard for me to photograph since the velvety blackness sucked in all the light.
 In highschool, my highschool-BFF gave me a hard time for being so matchy-matchy all the time, so then I purposefully started to not match anything at all, which is the rule I lived by for basically my whole adult life (aside from in the office… then I just wore all black because I didn’t know how to match anything else, in a grown-up and office-appropriate manner). These days, when I throw together an outfit, I’m discovering I’m actually getting a little more matchy-matchy again as far as colors, because I equate that with seeming put-together.
On Instagram, I said this look was inspired by mimes and clowns. All I need is some balloons and the big red nose!
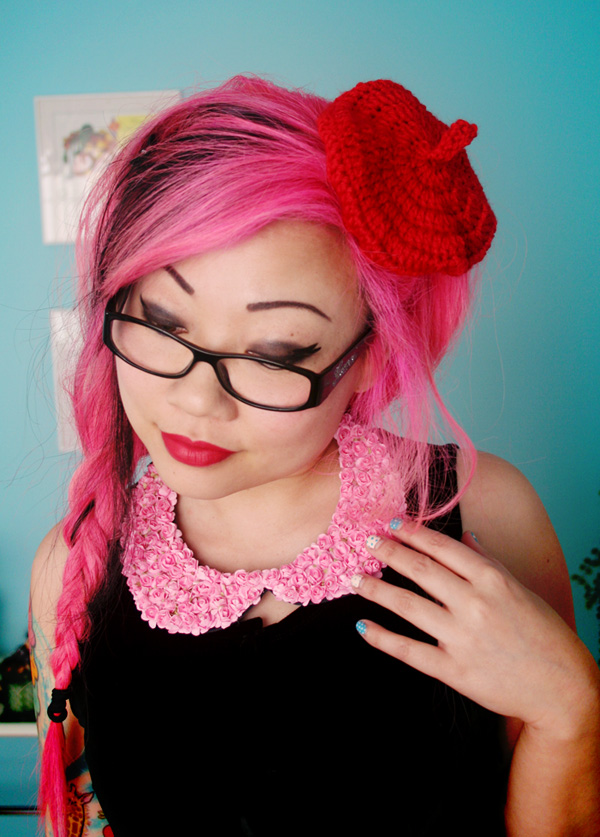
Jumpsuit: The White Pepper, Flower Collar: Locketship, Wedge Boots: The White Pepper, Knee Highs: We Love Colors, Sanrio Cupcake Scarf: Yummy You!, Little Red Beret: made by me!
 About the beret: I actually made one for me and Manda for this little casual photoshoot I wanted to do last weekend, but I can’t show you those photos just yet. If you want to make your own mini beret, it’s super easy. Basically, if you can crochet a circle, you can crochet this hat! Here’s the pattern:
What You’ll Need:
– Worsted weight yarn (I used Lion Brand Vanna’s Choice in Scarlet.)
– An H or I hook (Gauge is not really important here. If your beret is a tiny bit bigger or smaller, it will still be fine. Just use whichever hook you feel more comfortable with.)
– Scissors
– Tapestry needle
– Hair clips or bobby pins
Abbreviations:
ch(s): chain(s)
dc: double crochet
dc2tog: double crochet two together
hdc: half double crochet
rnd(s): round(s)
sc: single crochet
sc2tog: single crochet two together
sl st: slip stitch
st(s): stitch(es)
( ): work everything in the parenthesis into the next stitch
[ ]: repeat everything in the bracket as many times indicated
Hat:
-Make magic circle, or ch 3 and sl st to 1st ch to form ring.
-To avoid a seam, I didn’t join rnds. If you are more comfortable joining rnds, that is totally fine and won’t ruin the project.
Rnd 1: Ch 1, work 1 sc, 1 hdc, and then 10 dc into ring. (12 sts)
Rnd 2: (2 dc) 12 times. (24 sts)
Rnd 3: [(2 dc), 1 dc] 12 times. (36 sts)
Rnd 4: [(2 dc), 2 dc] 12 times. (48 sts)
Rnd 5: [(2 dc), 3 dc] 12 times. (60 sts)
Rnd 6: Work 60 dc evenly. (60 sts)
Rnd 7: [dc2tog, 3 dc] 12 times. (48 sts)
Rnd 8: [dc2tog, 2 dc] 12 times. (36 sts)
Rnd 9: [sc2tog, 2 sc] 9 times. (27 sts)
– Sl st to next st to join. Break off and weave in ends.
The Stem On Top of The Hat (what is that for anyway??)
You could also put a pompom up there instead.
Ch 8.
Row 1: Sk 1st 3 chs, then work 2 dc, 1 hdc, 2 sc. Break off leaving enough yarn to sew the stem to the top of your hat.
I just used bobby pins to pin beret into my hair, but you can glue hair clips to the underside of the hat if you prefer. Also, you could sew it to a plain headband.


