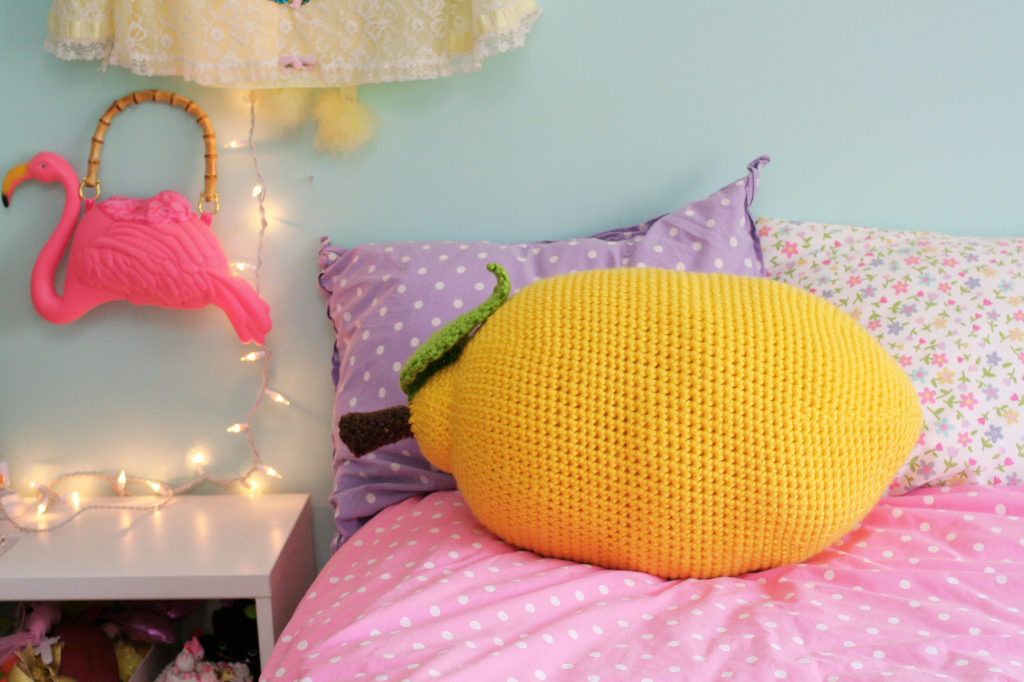
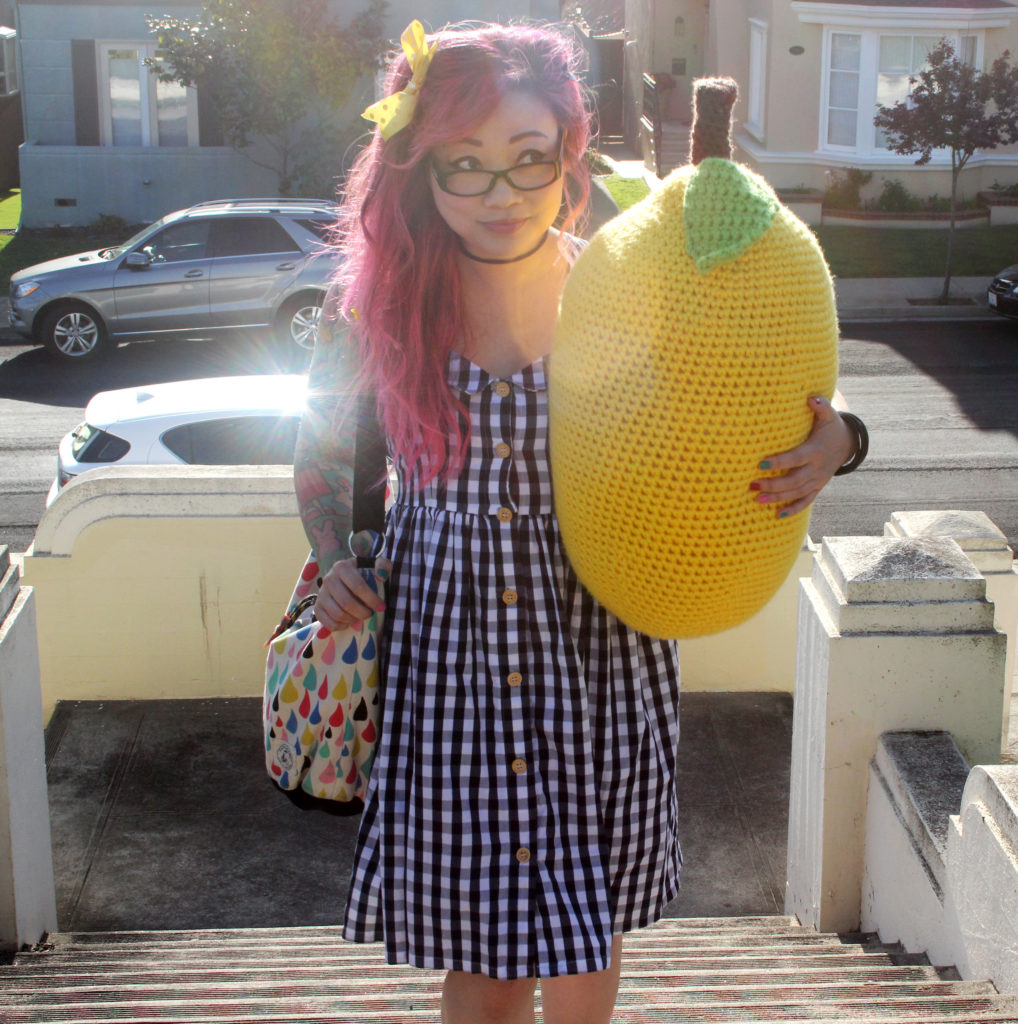
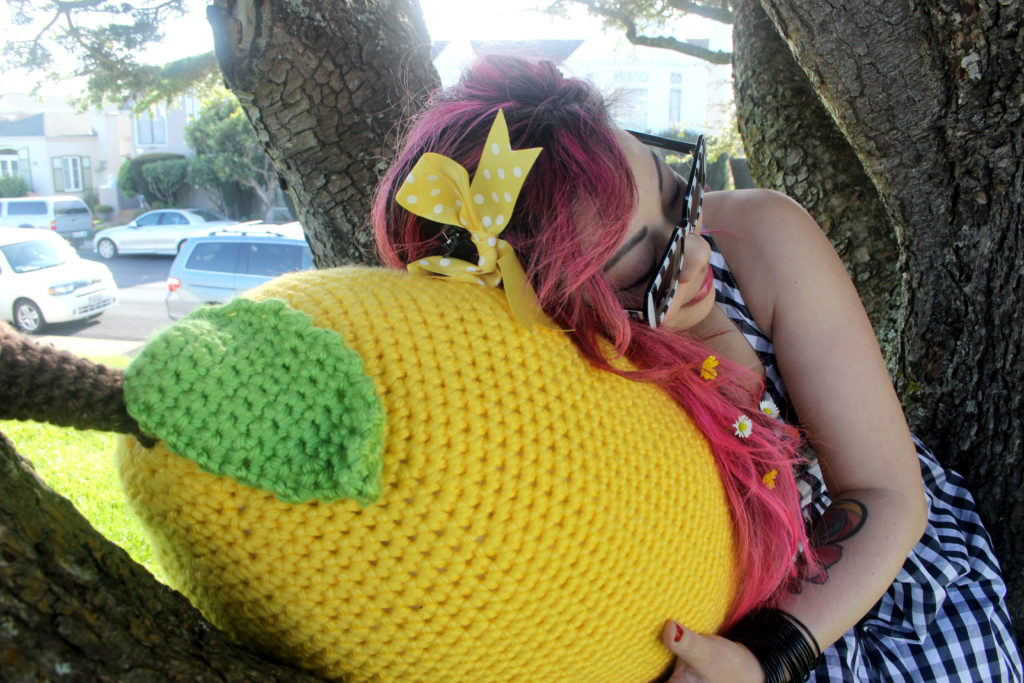
 The Craft Yarn Council approached me again this year to create a new pattern for Stress Awareness Month (which was April!) after the success of our Lemon Stress Ball. This year, I decided to GO BIG with this huggable and squishable Lemon Pillow! We’re using big yarn and a big hook, so this big project should go by more quickly than you think. I have a video tutorial on YouTube for the visual learners, and the free pattern is below. A friendly, printable PDF has been available on stitchawaystress.com for the past few weeks, plus they have a knitted version, too!

I hope you have lots of fun adventures with your gigantic lemon!

crochet pattern by Twinkie Chan
Materials
- 5 balls (approx. 405 yards) Lion Brand Hometown USA in Pittsburgh Yellow (Yellow)
- 1 ball (approx. 10 yards) Lion Brand Hometown USA in Santa Fe Tweed (Brown)
- 1 ball (approx. 20 yards) Lion Brand Hometown USA in Key Lime (Green)
- M13/9.00mm crochet hook
- 48 oz. of polyester stuffing (1 ½ 32 oz. bags)
- Large tapestry needle
- Scissors
- Stitch markers or scrap yarn in a contrasting color
Abbreviations
BLO: back loops only
ch(s): chain(s)
inv dec: invisible decrease
FLO: front loops only
sc: single crochet
sk: skip
sl st: slip stitch
st(s): stitch(es)
YO: yarn over
( ): work everything inside the parentheses into the next stitch
[ ]: repeat everything inside the brackets the number of times indicated
Stitch Refresher
inv dec: invisible decrease – pick up FLO of next st, then pick up FLO of following st, [YO, pull through 2 loops] 2 times.
Notes
The right side (RS) of your work should show on the outside of the lemon.
Gauge
Exact gauge is not important in this pattern.
For reference, here is my gauge with Lion Brand Hometown USA and M hook:
8 sts x 10 rows = 4 in. x 4 in.
Finished Size
Approx. 26 in. long and 40 in. in circumference at widest point
LEMON
– With Yellow, make magic circle, or ch 3 and sl st to 1st ch to form ring.
Rnd 1: 6 sc into ring. Don’t join rnds. – 6 sts
Rnd 2: (2 sc) 6 times. – 12 sts
Rnd 3: [(2 sc), sc] 6 times. – 18 sts
Rnd 4: [(2 sc), 2 sc] 6 times. – 24 sts
Rnd 5: [(2 sc), 3 sc] 6 times. – 30 sts
Rnds 6-9: sc evenly around. – 30 sts
Rnd 10: [(2 sc), 2 sc] 10 times. – 40 sts
Rnd 11: [(2 sc), 4 sc] 8 times. – 48 sts
Rnd 12: [(2 sc), 7 sc] 6 times. – 54 sts
Rnd 13: sc evenly around. – 54 sts
Rnd 14: [(2 sc), 8 sc] 6 times. – 60 sts
Rnd 15: sc evenly around. 60 sts
Rnd 16: [(2 sc), 9 sc] 6 times. – 66 sts
Rnd 17: sc evenly around. – 66 sts
Rnd 18: [(2 sc), 10 sc] 6 times. – 72 sts
Rnds 19-20: sc evenly around. – 72 sts
Rnd 21: [(2 sc), 11 sc] 6 times. – 78 sts
Rnds 22-47: sc evenly around. – 78 sts
Rnd 48: [inv dec, 11 sc] 6 times. – 72 sts
Rnds 49-50: sc evenly around. – 72 sts
Rnd 51: [inv dec, 10 sc] 6 times. – 66 sts
Rnd 52: sc evenly around. – 66 sts
Rnd 53: [inv dec, 9 sc] 6 times. – 60 sts
Rnd 54: sc evenly around. – 60 sts
Rnd 55: [inv dec, 8 sc] 6 times. – 54 sts
Rnd 56: sc evenly around. – 54 sts
Rnd 57: [inv dec, 7 sc] 6 times. – 48 sts
Rnd 58: [inv dec, 4 sc] 8 times. – 40 sts
– Weave in loose ends from your yarn ball changes and start stuffing the Lemon. You want to be able to stuff the bulk of it before the opening gets too small, and then continue to add stuffing every few rnds.
Rnd 59: [inv dec, 2 sc] 10 times. – 30 sts
Rnd 60: sc evenly around. – 30 sts
Rnd 61: [inv dec, 3 sc] 6 times. – 24 sts
Rnd 62: [inv dec, 2 sc] 6 times. – 18 sts
Rnd 63: [inv dec, sc] 6 times. – 12 sts
Rnd 64: inv dec 6 times. – 6 sts
– Sl st to next st to join.
– Break off leaving about 12 inches of yarn.
– With tapestry needle, weave through remaining 6 sts and pull to close.
– Tie off and weave in ends.
– If the bump at the top of your lemon isn’t pronounced enough for your liking, you can always take about a yard of Yellow, and with a tapestry needle, weave Yellow invisibly through the inside/center of each stitch in Rnd 9 and then cinch the yarn a little to create more shape. Tie off and weave in ends.
STEM
– With Brown, make magic circle, or ch 3 and sl st to form ring.
Rnd 1: 6 sc into ring. Don’t join rnds. – 6 sts
Rnd 2: (2 sc) 6 times. – 12 sts
Rnd 3: in BLO, sc evenly around – 12 sts
Rnd 4: working in both loops again, [inv dec, 2 sc] 3 times. – 9 sts
Rnds 5 and throughout: sc evenly around until your stem is as long as you prefer. Mine is 3 inches.
– After last sc, sl st to next st to join. Break off leaving about 24 inches of yarn for sewing later.
– Weave in other end.
– Stuff Stem lightly.
LEAF
– With Green, give yourself a 12 inch yarn tail for sewing later, then ch 2.
Row 1: Sk 1st ch, (3 sc). – 3 sts
Row 2: Ch 1, turn. (3 sc), (2 sc), (3 sc). – 8 sts
Row 3: Ch 1, turn. (2 sc), 6 sc, (2 sc). – 10 sts
Rows 4-8: Ch 1, turn. Sc evenly. – 10 sts
Row 9: Ch 1, turn. Sk 1st st, 9 sc. – 9 sts
Row 10: Ch 1, turn. Sc evenly. – 9 sts
Row 11: Ch 1, turn. 7 sc, sk 1 st, sc in last st. – 8 sts
Row 12: Ch 1, turn. Sc evenly. – 8 sts
Row 13: Ch 1, turn. Sk 1st st, 7 sc. – 7 sts
Row 14: Ch 1, turn. Sc evenly. – 7 sts
Row 15: Ch 1, turn. 5 sc, sk 1 st, sc in last st. – 6 sts
Row 16: Ch 1, turn. Sk 1st st, 5 sc. – 5 sts
Row 17: Ch 1, turn. Sk 1st st, 4 sc. – 4 sts
Row 18: Ch 1, turn. Sk 1st st, 3 sc. – 3 sts
Row 19: Ch 1, turn. Sk 1st st, 2 sc. – 2 sts
Row 20: Ch 1, turn. Sk 1st st, sc. – 1 st
– Break off and weave in end.
ASSEMBLY
- Sew Stem to top of Lemon.
- Sew Leaf to base of Stem.
- Hug!


