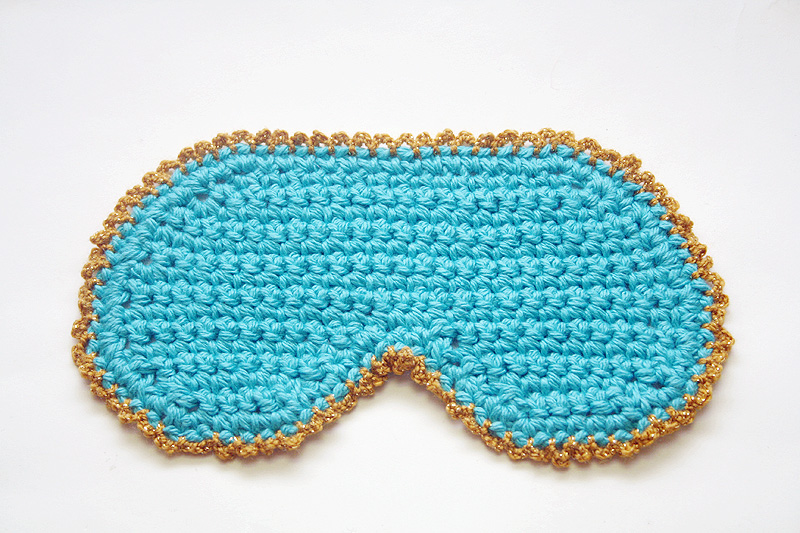
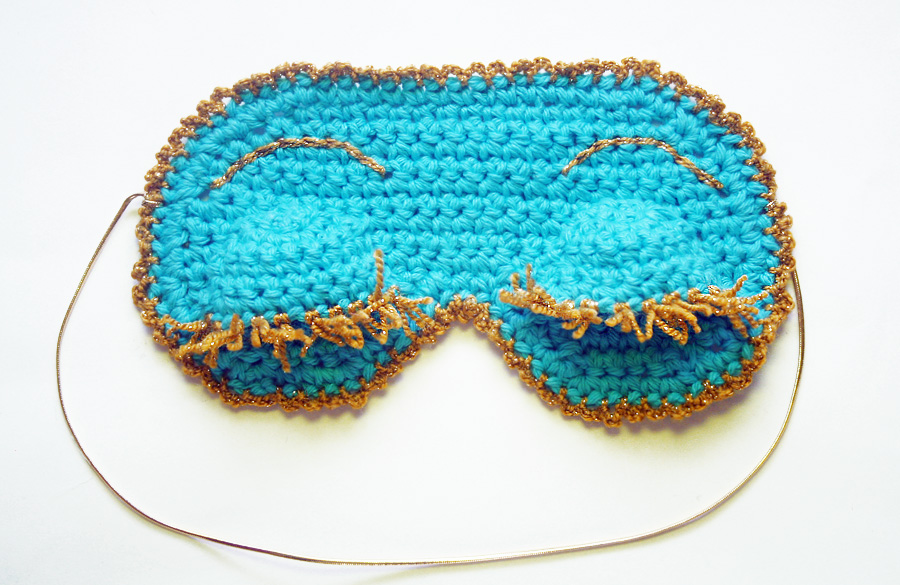
 I randomly decided the other day that I needed to make myself Holly Golightly’s sleeping mask from Breakfast at Tiffany’s, and I figured I’d share the pattern so that you guys can make one, too! The cool thing about this pattern is that you can turn the basic sleeping mask into anything you want…. like a bunny mask, a kitty mask, a teddy bear mask… there are tons of possibilities for customization!
I made 4 other kinds of masks, which you can see in the intro of my YouTube tutorial!
This pattern will focus on the Holly Golightly mask, for whenever you have the blues or the mean reds!
What You’ll Need:
– Worsted weight yarn in Blue. I’m using Lion Brand Kitchen Cotton in Tropic Breeze. I figured that maybe you would want cotton on your face moreso than acrylic, but big box cotton yarns tend to be rather thick and stiff, and I think soft worsted acrylics like Deborah Norville Everyday Worsted would be a fine option, too!
– A sock-weight or lightweight yarn in Gold. I’m using Lion Brand Vanna’s Glamour in Gold.
– Elastic or ribbon for the head-ties. You could also use yarn, but I chose a gold elastic from JoAnn Fabrics.
– H8/5.0mm crochet hook, G6/4.00mm crochet hook
– tapestry needle
– scissors
– optional: It looks to me like there are some sequin/rhinestone eyes underneath the eyelids on the mask from the movie. Since the eyes are pretty closed, I think it’s optional to re-create this, but you can always use a circle of dark blue felt, or a big blue sequin or rhinestone for this.
Abbreviations:
ch(s): chain(s)
rnd(s): round(s)
sc: single crochet
sc2tog: single crochet two together, or decrease
sk: skip
sl st: slip stitch
st(s): stitch(es)
( ): work everything inside the parentheses into the next stitch
[ ]: work everything inside the brackets the number of times indicated
Sleeping Mask
With Blue and H hook, ch 17.
Row 1: Sk 1st ch, (2 sc), 14 sc evenly, (2 sc). (18)
Row 2: Ch 1, turn. (2 sc), 16 sc evenly, (2 sc). (20)
Row 3: Ch 1, turn. (2 sc), 18 sc evenly, (2 sc). (22)
Row 4: Ch 1, turn. (2 sc), 20 sc evenly, (2 sc). (24)
Rows 5-6: Ch 1, turn. Sc evenly across. (24)
Row 7: Ch 1, turn. (2 sc), 22 sc evenly, (2 sc). (26)
Rows 8-9: Ch 1, turn. Sc evenly across. (26)
Row 10a: Ch 1, turn. 10 sc evenly, sc2tog. Leave remaining sts unworked for now. (11)
Row 11a: Ch 1, turn. Sc evenly across. (11)
Row 12a: Ch 1, turn. Sc2tog, 7 sc evenly, sc2tog. (9)
Row 13a: Ch 1, turn. Sc2tog, 5 sc evenly, sc2tog. (7)
Row 14a: Ch 1, turn. Sc2tog, 3 sc evenly, sc2tog. (5)
Break off.
Back at the last stitch you worked in Row 10a, sk 2 sts, then re-join yarn.
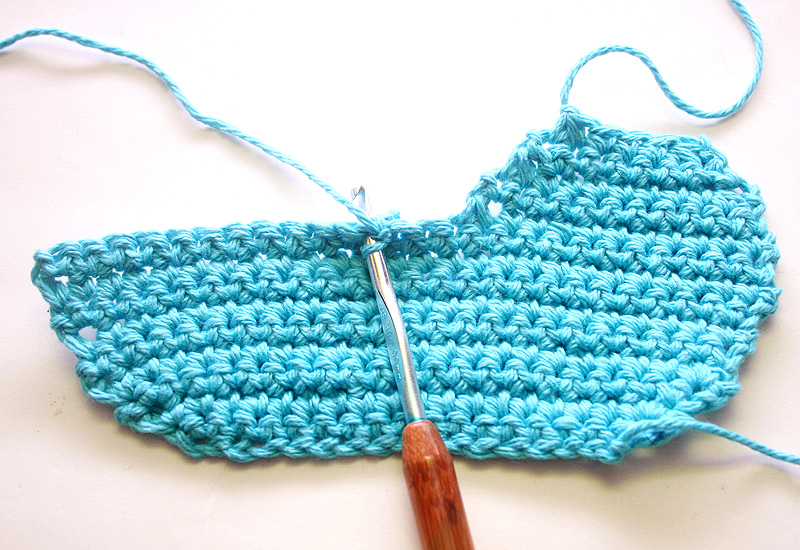 Row 10b: Ch 1, sc2tog, 10 sc evenly. (11)
Row 11b: Ch 1, turn. Sc evenly across. (11)
Rows 12b – 14b: Repeat Rows 12a-14a.
Don’t break off. You will now work sc evenly around the whole mask to create a neat edge.
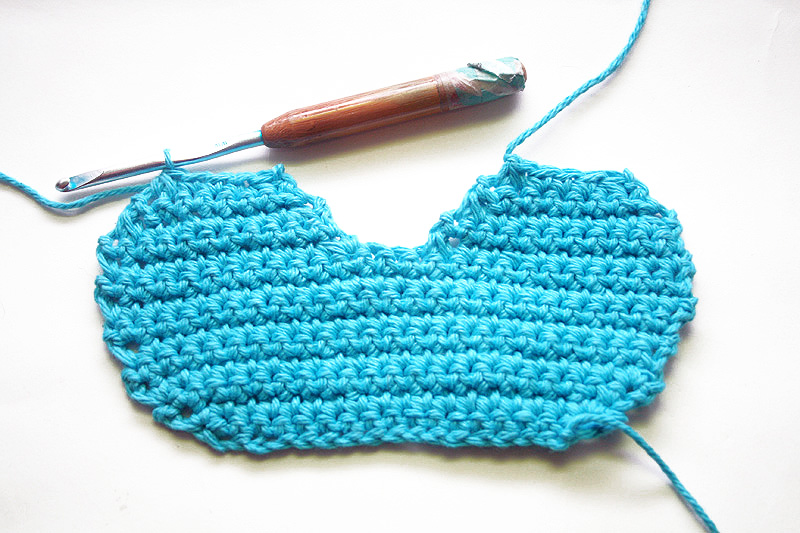 Rnd 1: Ch 1, turn. 4 sc, (2 sc) in last st. 4 sc (or 5 sc) down the side of the nose, 2 sc evenly in the center of the nose, 4 sc (or 5 sc, same number as the first side of the nose) up the other side of the nose. (2 sc), 3 sc, (2 sc). Repeat [1 sc, (2 sc)] all around the edge until you hit the top of the mask (6 times, and maybe an extra 1 sc). Then, (2 sc), 14 sc, (2 sc) across the top of the mask. Then repeat [1 sc, (2 sc)] all around the edge until you hit the bottom of the mask again (6 times, and maybe an extra 1 sc), and sl st to 1st to join. If you are more visual, I also created a chart for Rnd 1 below.
 Break off and weave in all ends.
This is the end of the basic Sleeping Mask pattern. The rest of the pattern is specific to the Holly Golightly mask.
Gold Edging for Mask
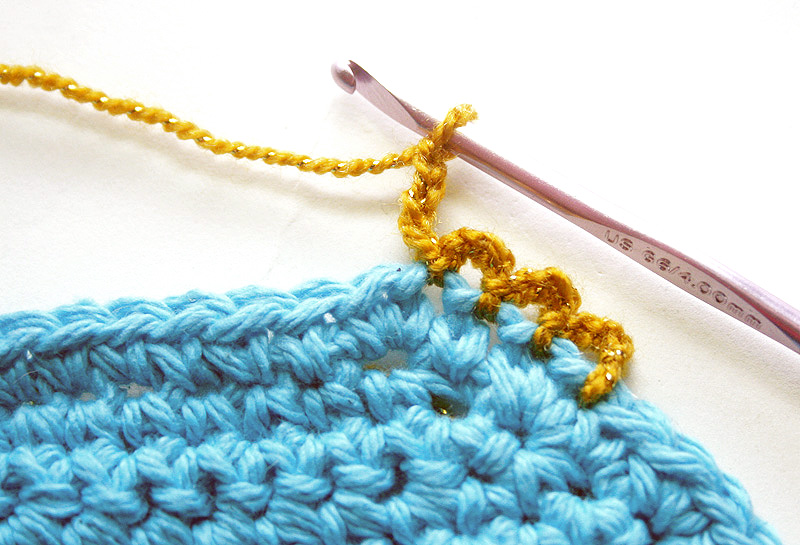
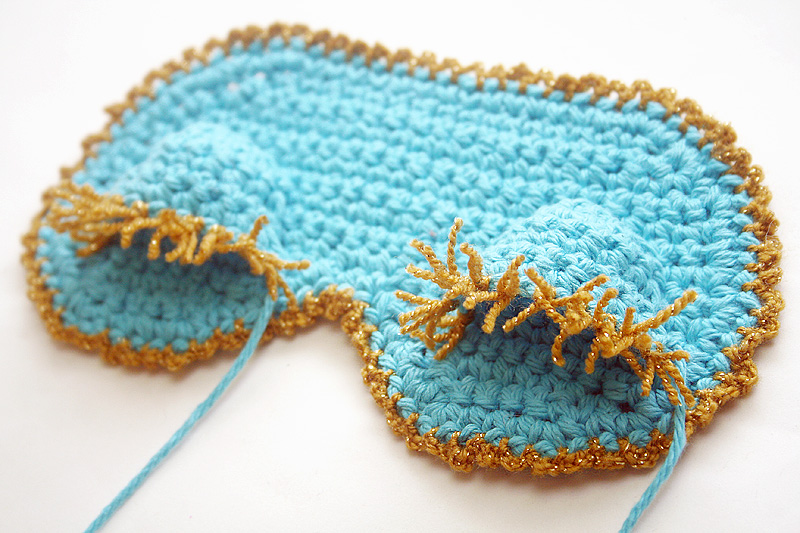
You can play with lots of different border/edging patterns to decorate the outer edge of your mask, but I wanted to keep my pattern as absolutely simple as possible. All I did was join Gold yarn anywhere on the mask, and then used a G hook to ch 4 and sl st into the next st. Repeat [ch 4, sl st to next st] all the way around the mask until you are back to where you started. Then break off and weave in ends. Easy!
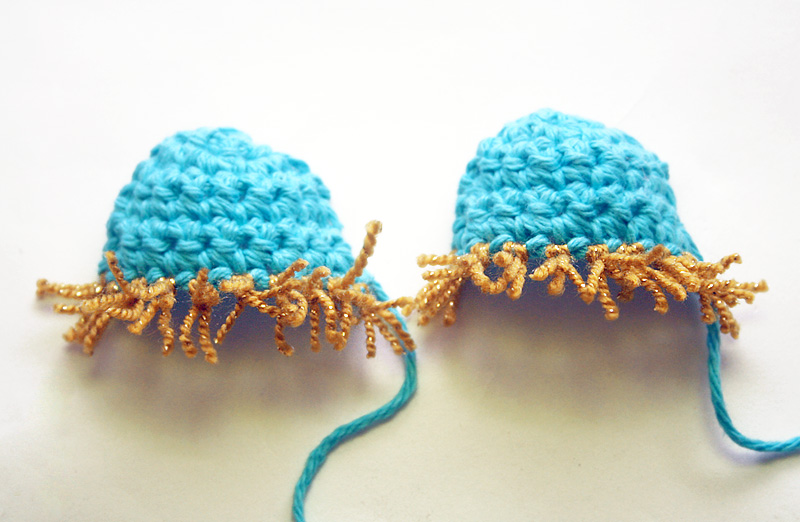
Eyelids – make 2
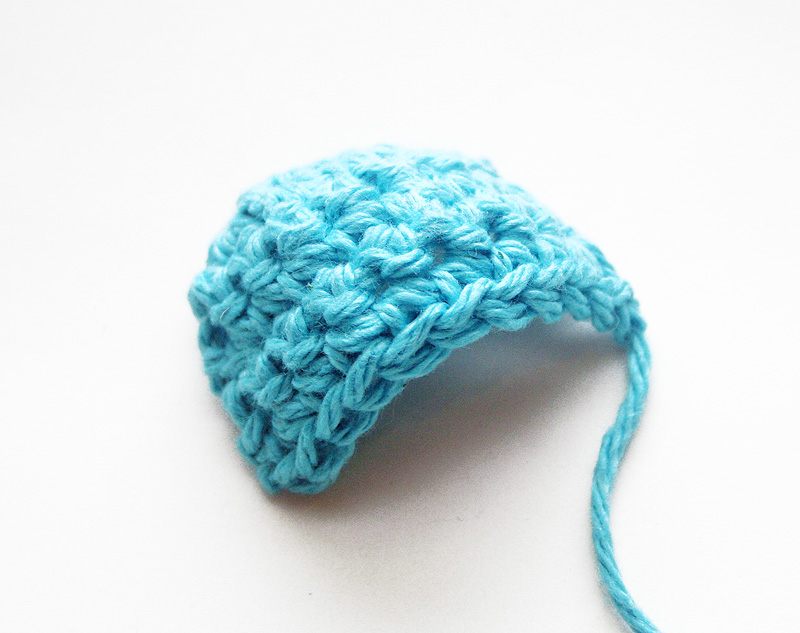
With Blue and H hook, make magic circle, or ch 3 and sl st to 1st ch to form ring.
Row 1: Ch 1, 4 sc into ring. (4)
Row 2: Ch 1, turn. (2 sc) into each st. (8)
Rows 3-5: Ch 1, turn. Sc evenly across. (8)
Row 6: Ch 1, turn. (2 sc), 6 sc evenly, (2 sc). (10)
Eyelashes
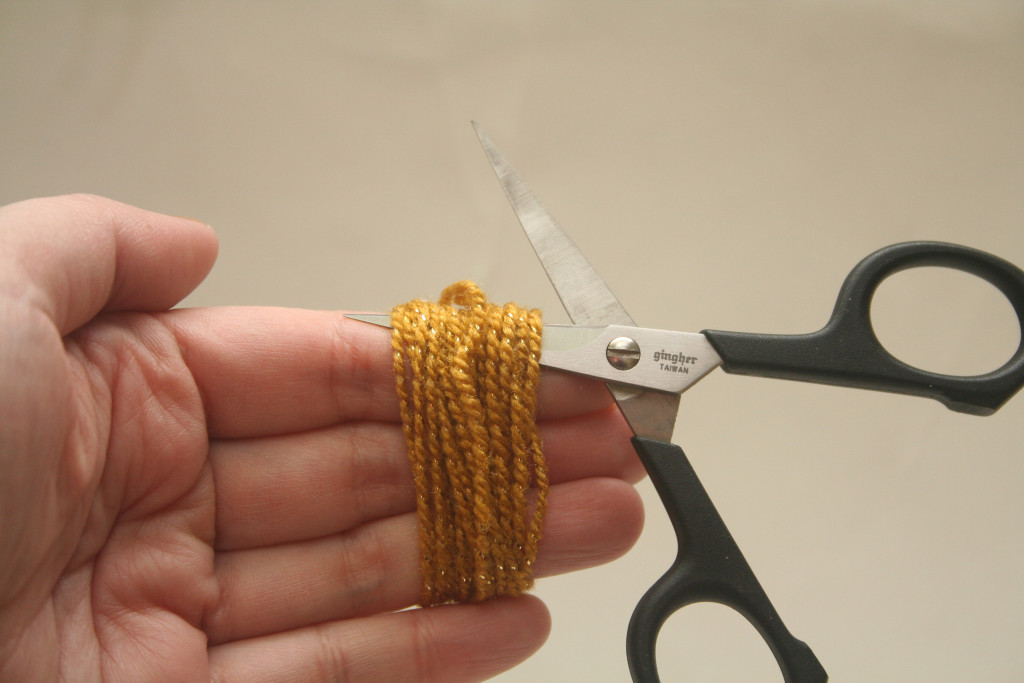
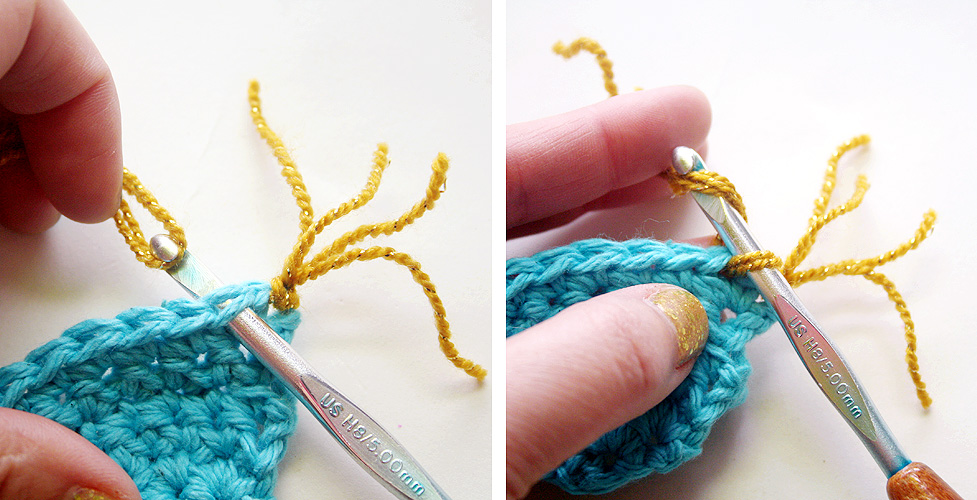
I think it’s easier to put on the Eyelashes before you sew on the Eyelids. Wrap some Gold yarn around three fingers a little more than 20 times and cut lengths of yarn to make small tassels for the eyelashes, which you will attach latch-hook style to Row 6 of each Eyelid. I make the lashes long at first, to make them easier to attach, and then I trim all of them afterwards.
1. Sew Eyelids to Sleeping Mask, leaving the bottom of the lids (with the lashes) unsewn. The Eyelids are meant to be a little bit convex and 3D, and how you sew them on can either enhance or diminish this effect. You can use pins to secure the placement of your Eyelids if that’s helpful.
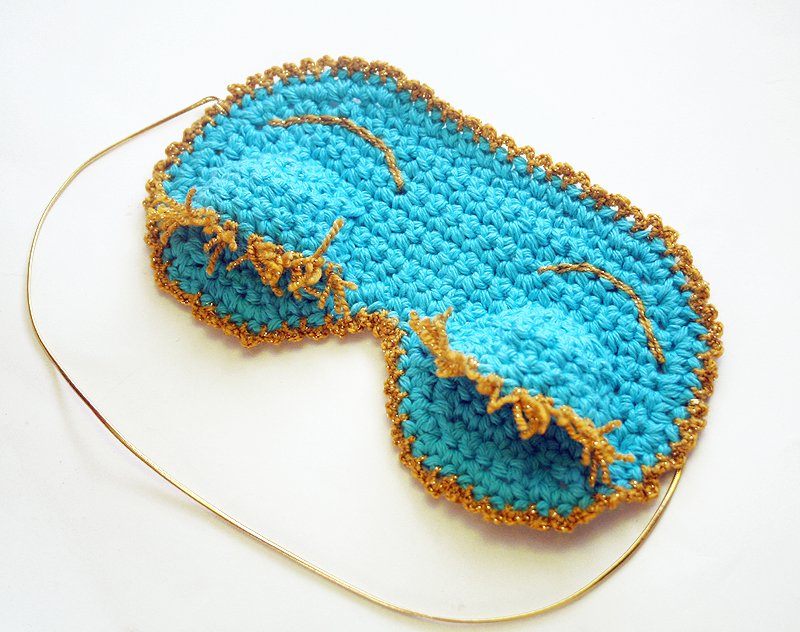
2. To create eyebrows, use Gold yarn and either embroider or surface crochet an arch above each Eyelid.
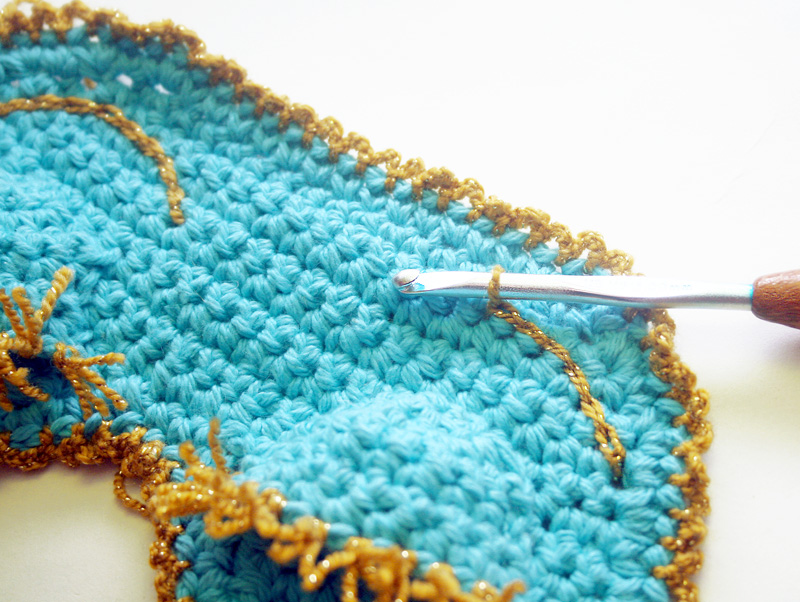 3. Attach your elastic or ribbon to each side of your Sleeping Mask.
4. If you want your mask to have even more structure, you can always crochet a second Sleeping Mask (without the Eyelids etc) and sew or sl st the two masks together to create a double-layer.
* This free pattern is intended for personal use only. Please do not copy, redistribute, or sell this pattern. “Breakfast at Tiffany’s” is the intellectual property of someone else who is not me or you, so I would advise you not to sell items from this pattern without permission. Of course, feel free to use my basic sleeping mask pattern to create your own fabulous and unique creations to enjoy and sell.

