 Sorry for the blog-silence! I’ve been busy catching up with work, writing Michaels.com patterns, planning cool collabs for Yummy You! (p.s. our Ice Cream & Sunnies tee is now only $12.50!) and working on a few website updates (nothing big, just updating the Press section and the slideshow on the landing page!).
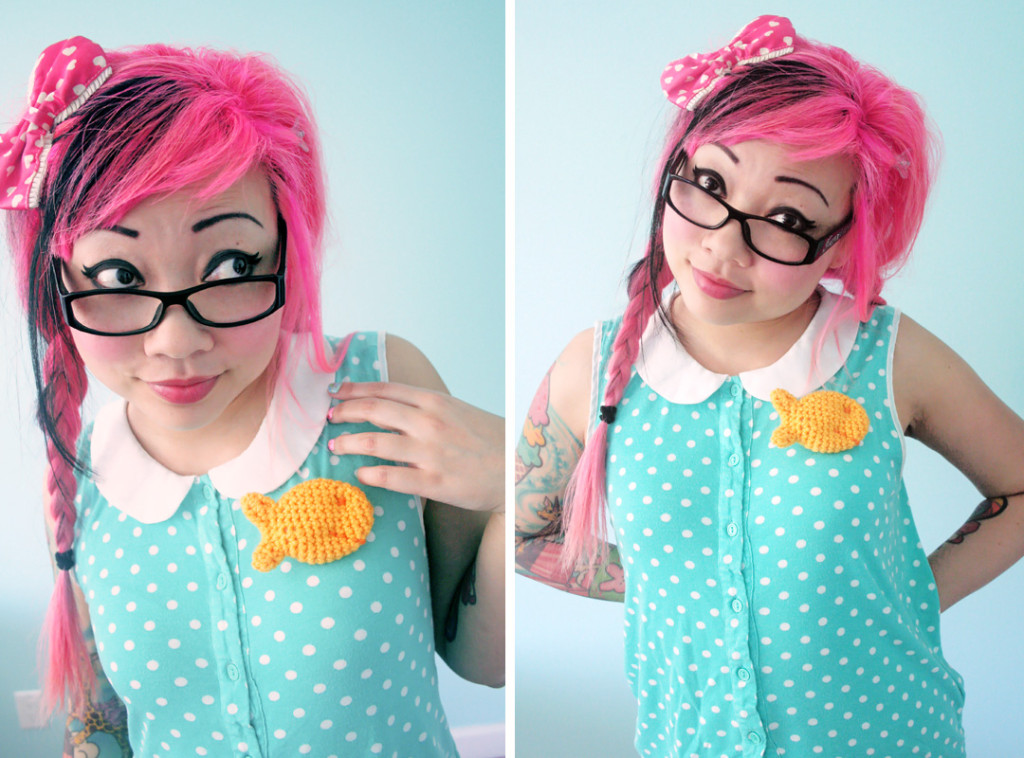
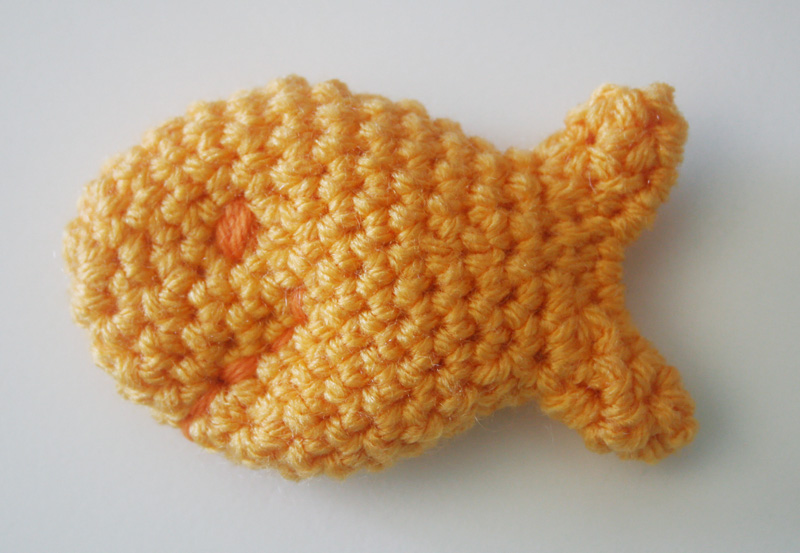 I thought I would make it up to you guys by posting another free pattern here! It’s for the little Goldfish Crackers! You can use them as pins, hair clips, and someone mentioned wanting the pattern to make a mobile for her baby. Cute idea! I do not intend to sell anymore in my shop, so that is why I am sharing the pattern for free here.
 Materials List
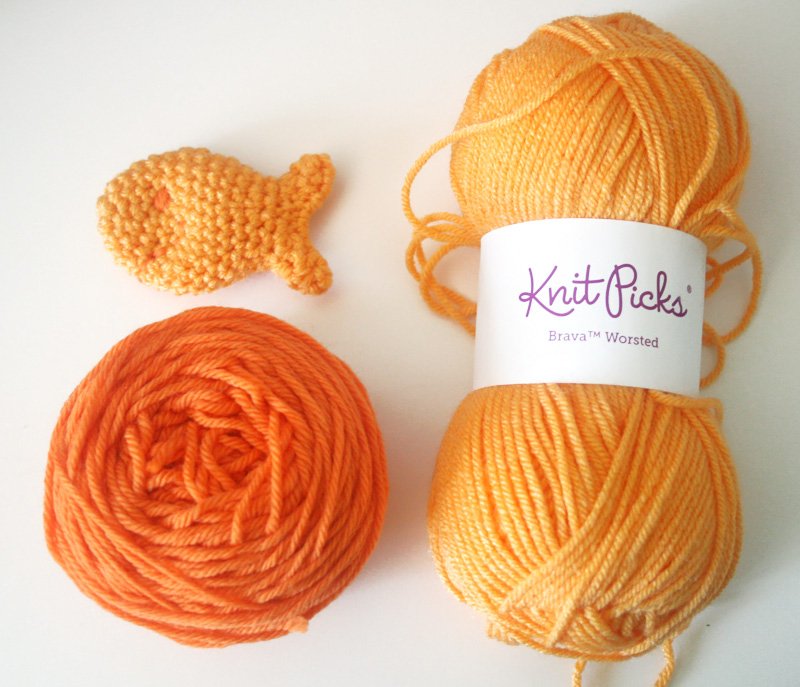
– (MC) KnitPicks Brava Worsted in “Caution” or a worsted weight yarn in the color of your choice
– (CC) Small amount of worsted weight yarn in a slightly darker color than MC to embroider the face (I used Cascade 220)
– H8/5.00mm crochet hook
– Small amount of polyfill stuffing
– scissors
-tapestry needle
Notes
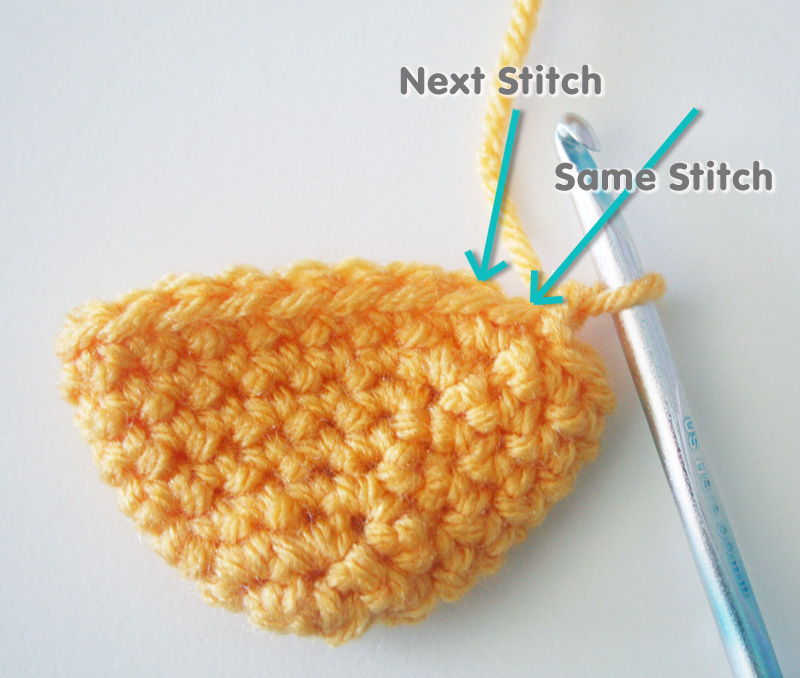
– I begin each round with an indication to work the first stitch in the “Next Stitch” (NS) or the “Same Stitch” (SS) in order to keep the seam in check. (See photo) You could always work in a spiral instead, but I often like to join my rounds to achieve the right shape for my project.
– Remember that the Right Side of the stitches will show on the outside of the goldfish.
Special Stitches
– inv dec (invisible decrease): Insert hook into FLO of next st, then insert hook into FLO of following st. [YO, pull through 2 loops] twice. Decrease completed.
Abbreviations
CC = contrast color
ch(s) = chain(s)
FLO = front loop only
MC = main color
NS = next stitch
rnd(s) = round(s)
sl st = slip stitch
SS = same stitch
st(s) = stitch(es)
( ) = work everything inside the parentheses into the next stitch
[ ] = work everything inside the bracket the number of times indicated
Goldfish
With MC and H hook, make magic circle, or ch 3 and sl st to 1st ch to form ring.
Rnd 1: Work 6 sc into ring. Sl st to 1st sc to join. (6)
Rnd 2: SS, Ch 1, (2 sc) 6 times. Sl st to 1st sc to join. (12)
Rnd 3: SS, Ch 1, [(2 sc), 3 sc] 3 times. Sl st to 1st sc to join. (15)
Rnd 4: SS, Ch 1, [(2 sc), 4 sc] 3 times. Sl st to 1st sc to join. (18)
Rnd 5: NS, Ch 1, [(2 sc), 8 sc] 2 times. Sl st to 1st sc to join. (20)
Rnd 6: SS, Ch 1, [(2 sc), 9 sc] 2 times. Sl st to 1st sc to join. (22)
Rnds 7 – 8: SS, Ch 1, work sc evenly around. Sl st to 1st sc to join. (22)
Rnd 9: NS, Ch 1, work sc evenly around. Sl st to 1st sc to join. (22)
Rnd 10: SS, Ch 1, [inv dec, 9 sc] 2 times. Sl st to 1st sc to join. (20)
Rnd 11: SS, Ch 1, [inv dec, 3 sc] 4 times. Sl st to 1st sc to join. (16)
Rnd 12: SS, Ch 1, [inv dec, 2 sc] 4 times. Sl st to 1st sc to join. (12)
Rnd 13: NS, Ch 1, sc evenly around. (12)
Put a little bit of stuffing inside the fish. You don’t want it super duper stuffed. Just a little bit to give it a little puff.
Rnd 14: SS, Ch 2. (2 hdc), 1 sc, sl st, sl st, *don’t slip stitch too tightly since you have to work in these sts later* 1 sc, (2 hdc), (2 hdc), 1 sc, sl st, sl st, 1 sc, (2 hdc), Sl st to 1st hdc to join. (16)
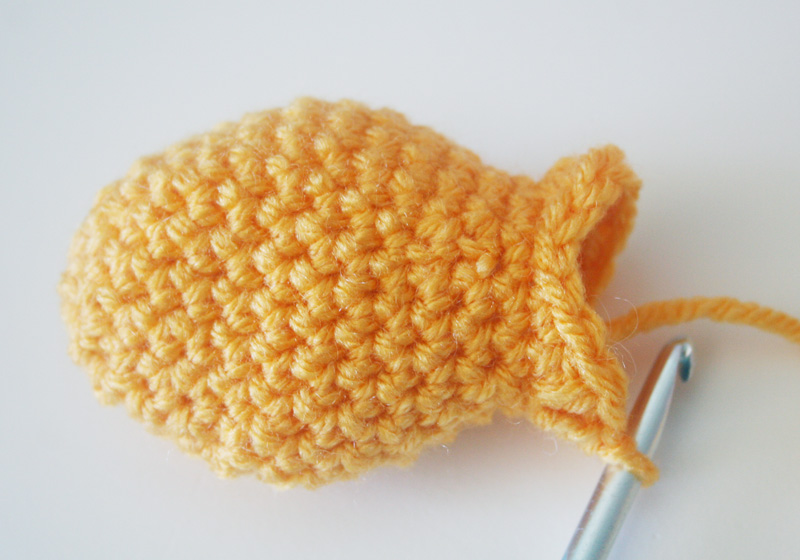 Rnd 14: SS, Ch 2. (2 hdc), 1 sc, 1 sl st each in next 4 sts, 1 sc, (2 hdc), (2 hdc), 1 sc, 1 sl st each in next 4 sts, 1 sc, (2 hdc), sl st to 1 st hdc to join. (20) Break off leaving about a yard of yarn for sewing.
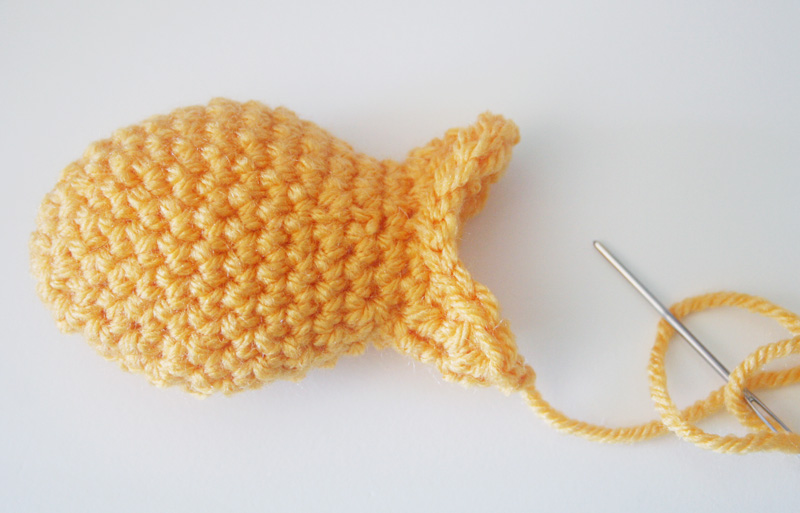 Making sure that your seam runs along the bottom of your fish, and that the two tail halves align together, work 2 whipstitches through each stitch to sew the fish together.
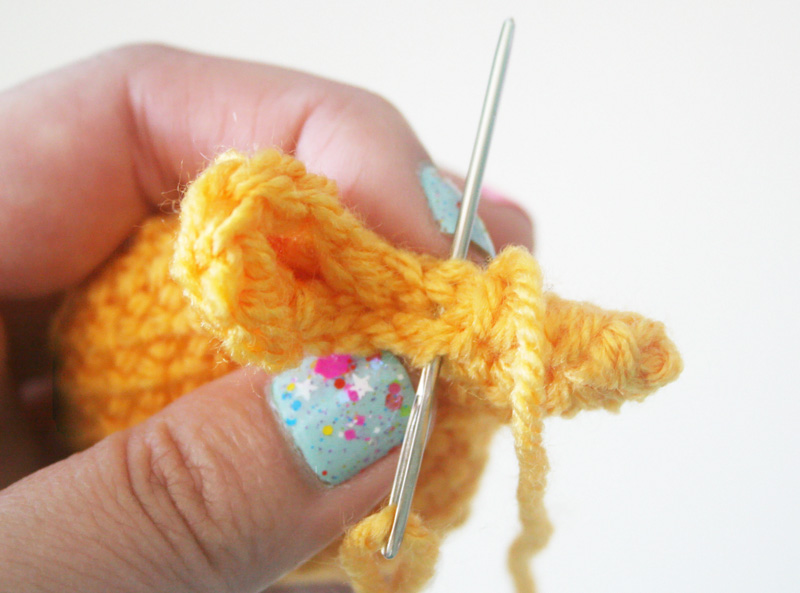 Then thread a yard of CC through your tapestry needle and embroider the fish’s eye. Go through both layers of the crochet. It will create a neat, quilted effect through the stuffing. After finishing the eye, I poke my needle through the inside of the fish to hide the yarn, and then I bring the needle back out again where I want to start stitching the mouth, also through both layers of crochet. Tie off both ends and weave them inside the fish.
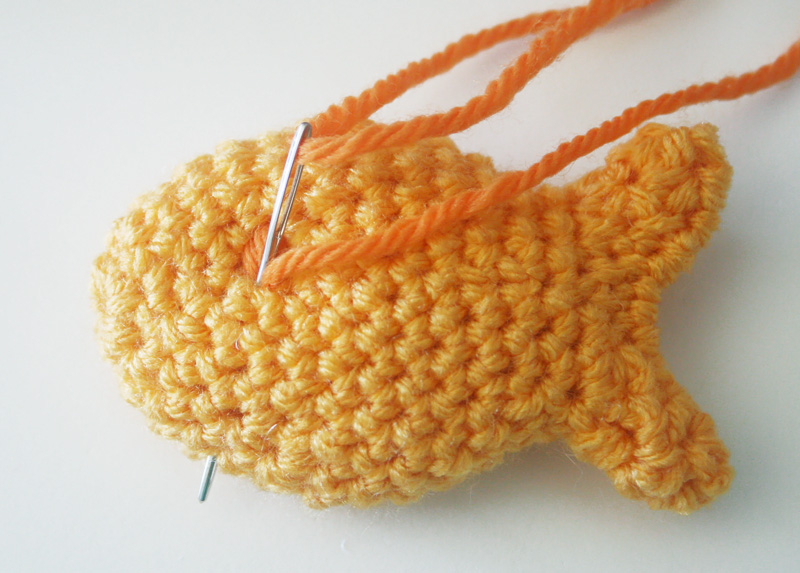
 If you’re like me … your fish may have a good side and a less-good side….
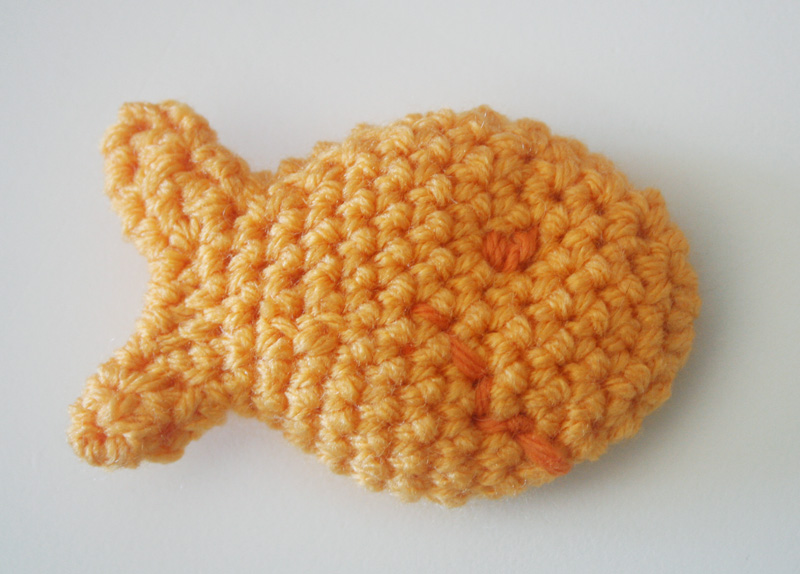 But there’s nothing really wrong with a crooked smile, either ;).

