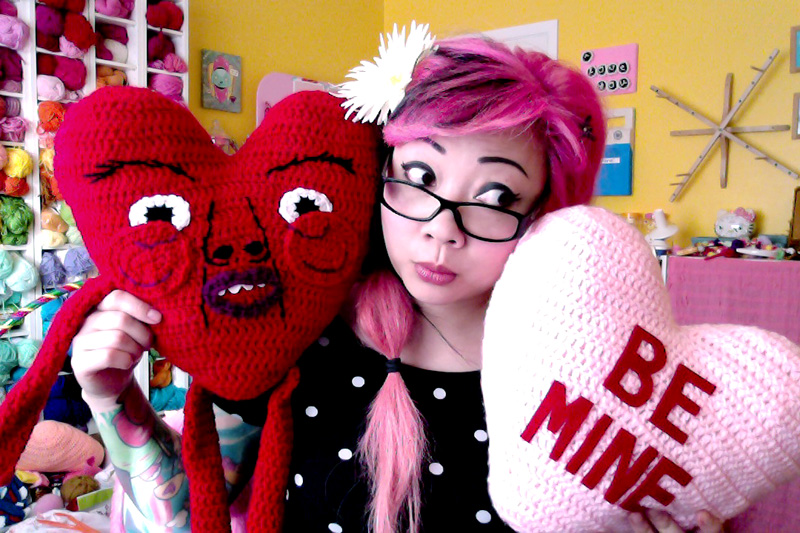
Let’s squeeze out one more heart-shaped pattern before Valentine’s Day!
I got a couple requests for a Ricardio the Heart Guy from Adventure time. I had to look him up, and he looks like this:
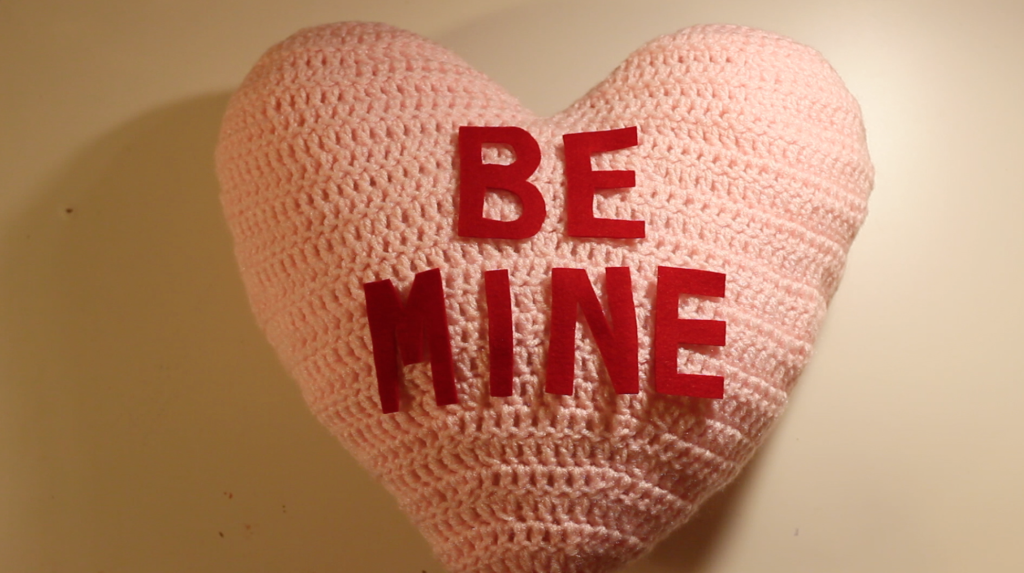
Kinda freaky, right?! Anyway, I figured this was also a good opportunity to make heart-shaped throw pillows, and then you can put a Ricardio face on it, or a happy/cute face, or make a set of conversation hearts with your own messages. Lots of opportunities here!! I will put arms and legs on mine, but you can leave out the limbs. The world is yours!
There are a few ways to create a throw-pillow-type project. You can either work in the round, or you can crochet two flat pieces and sew them together. We are going to work this one in the round, kinda like a jumbo version of my heart lollipop necklace. I normally like to use single crochet for items that are stuffed, but I wanted to bang this out really quick, so I used double crochet! Let’s go crazy!!!
(p.s. I’m sorry that the photos here are just screen grabs of the YouTube video….. I changed the way I decided to work the pattern, and all the photos I took were no longer valid. I will work up another pillow this weekend and shoot proper progress photos!)
What You’ll Need
- Crochet Hook, size H/5.0mm
- Worsted weight yarn – I’m using Red Heart Super Saver
- scissors or yarn cutter
- tapestry needle for weaving in ends
- optional: Yarn in contrasting colors to embroider faces or messages, or fabric paint, or felt cut-outs
Abbreviations
ch(s) = chain(s)
dc = double crochet
dc2tog: double crochet 2 together (decrease)
rnd(s) = round(s)
sc = single crochet
sc2tog = single crochet 2 together (decrease)
sk = skip
sl st = slip stitch
st(s) = stitch(es)
( ) = work everything inside the parentheses into the next stitch
[ ] = repeat what is inside the brackets the number of times indicated
Heart Tops – Make 2. Break off after the 1st one, but don’t break off after the 2nd one.
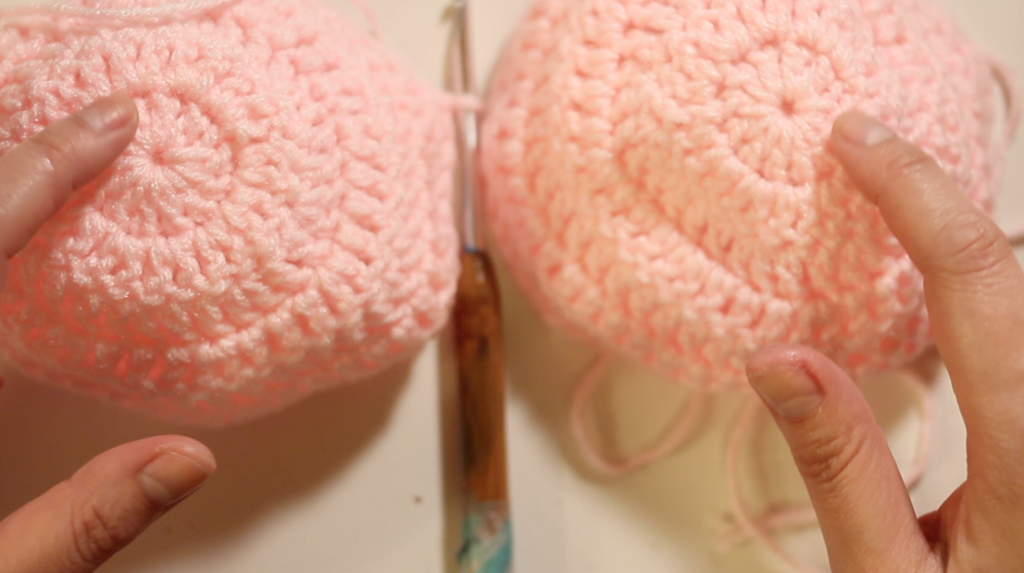
We will be working the heart in the rnd, but we’ll also be joining our rnds and TURNING before each new rnd. This ensures that our seam will stay straight on one side of the heart. So don’t forget to join AND turn! 🙂
Make magic ring or ch 3 and sl st to 1st ch to form ring.
Rnd 1: Ch 2, work 12 dc into ring. Sl st to 1st st to join. (12)
Rnd 2: Ch 2, turn. (2 dc) in each st. Sl st to 1st st to join. (24)
Rnd 3: Ch 2, turn. [(2 dc), 2 dc] 8 times. Sl st to 1st st to join. (32)
Rnd 4: Ch 2, turn. [(2 dc), 3 dc] 8 times. Sl st to 1st st to join. (40)
Rnd 5: Ch 2, turn. [(2 dc), 9 dc] 4 times. Sl st to 1st st to join. (44)
Rnd 6: Ch 2, turn. [(2 dc), 10 dc] 4 times. Sl st to 1st st to join. (48)
Rnd 7: Ch 2, turn. [(2 dc), 11 dc] 4 times. Sl st to 1st st to join. (52)
Break off after the first Heart Top, leaving about 18 inches of yarn for sewing later.
After making the second Heart Top, do not break off, and continue to work the body of the heart.
Heart Body
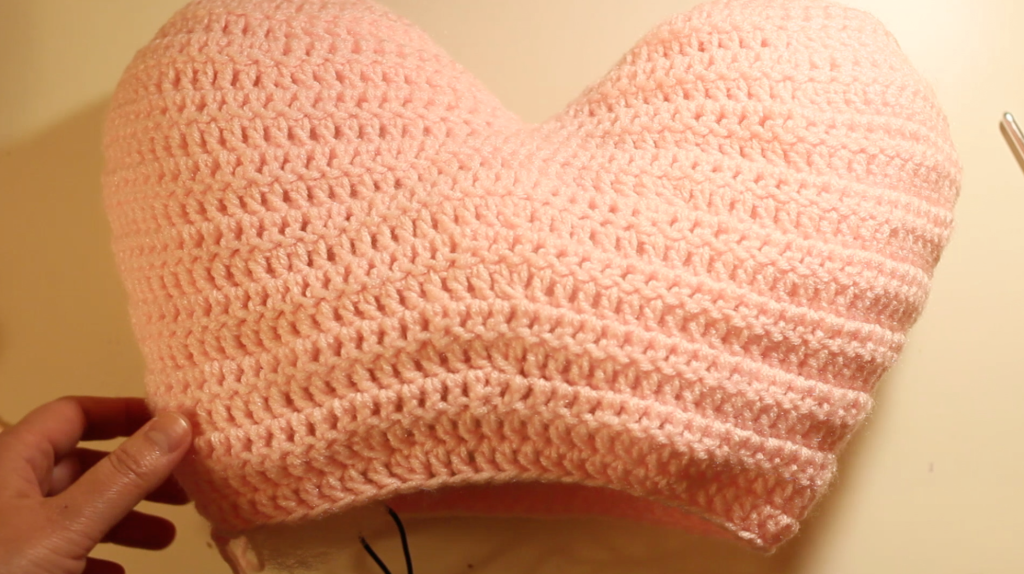
Now you will connect the to Heart Tops together.
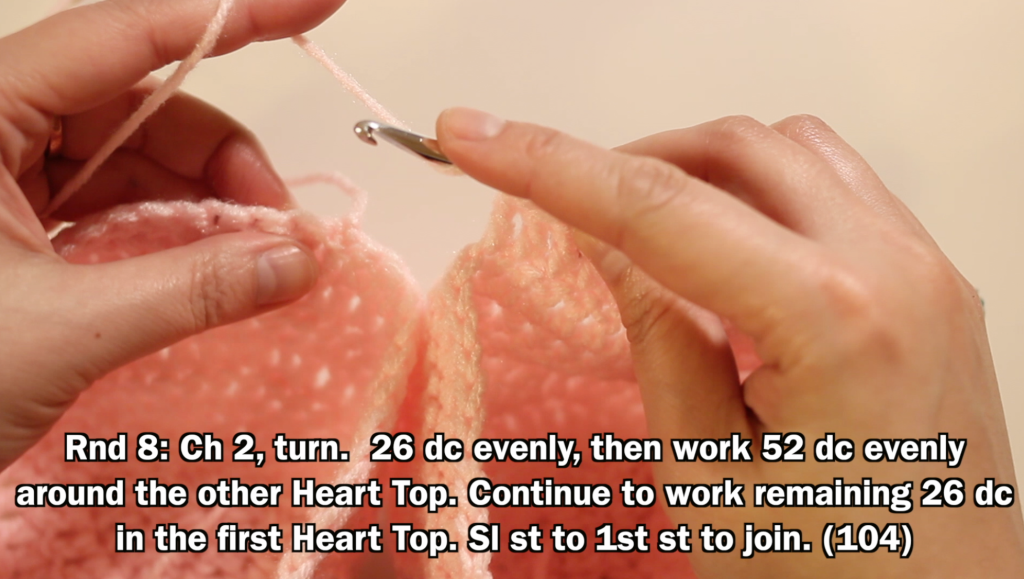 Rnd 8: Ch 2, turn. Work 26 dc evenly across the most recently worked Heart Top. Then, pick up the previous Heart Top and work 1 dc into the last stitch you worked on it, as if you continuing to work in a new rnd. Continue to work dc evenly into the remaining 51 sts. Then work 1 dc into the next free st (the 27th st) of the first Heart Top, and work dc evenly into the remaining 26 sts. Sl st to 1st st to join. (104)
Rnd 9: Ch 2, turn. Work dc evenly around. Sl st to 1st st to join. (104)
Rnd 10: Ch 2, turn. [dc2tog, 50 dc] 2 times. Sl st to 1st to join. (102)
Rnd 11: Ch 2, turn. [dc2tog, 32 dc] 3 times. Sl st to 1st to join. (99)
Rnd 12: Ch 2, turn. [dc2tog, 31 dc] 3 times. Sl st to 1st to join. (96)
Rnd 13: Ch 2, turn. [dc2tog, 22 dc] 4 times. Sl st to 1st to join. (92)
Rnd 14: Ch 2, turn. [dc2tog, 21 dc] 4 times. Sl st to 1st to join. (88)
Rnd 15: Ch 2, turn. [dc2tog, 20 dc] 4 times. Sl st to 1st to join. (84)
Rnd 16: Ch 2, turn. [dc2tog, 19 dc] 4 times. Sl st to 1st to join. (80)
Rnd 17: Ch 2, turn. [dc2tog, 18 dc] 4 times. Sl st to 1st to join. (76)
Rnd 18: Ch 2, turn. [dc2tog, 17 dc] 4 times. Sl st to 1st to join. (72)
Rnd 19: Ch 2, turn. [dc2tog, 10 dc] 6 times. Sl st to 1st to join. (66)
Rnd 20: Ch 2, turn. [dc2tog, 9 dc] 6 times. Sl st to 1st to join. (60)
Around here is where I try to stuff most of the heart (but on second thought, this might be too early, and you can still crochet more for maybe 3-4 more rnds). I stuff pretty lightly, so that the shape of the heart doesn’t get too warped. Try to get the stuffing nice and even and not lumpy.
Rnd 21: Ch 2, turn. [dc2tog, 8 dc] 6 times. Sl st to 1st to join. (54)
Rnd 22: Ch 2, turn. [dc2tog, 7 dc] 6 times. Sl st to 1st to join. (48)
Rnd 23: Ch 2, turn. [dc2tog, 6 dc] 6 times. Sl st to 1st to join. (42)
Rnd 24: Ch 2, turn. [dc2tog, 5 dc] 6 times. Sl st to 1st to join. (36)
Rnd 25: Ch 2, turn. [dc2tog, 4 dc] 6 times. Sl st to 1st to join. (30)
I usually try to stuff more here.
Rnd 26: Ch 2, turn. [dc2tog, 3 dc] 6 times. Sl st to 1st to join. (24)
Rnd 27: Ch 2, turn. Dc2tog 12 times. Sl st to 1st st to join. (12)
I’ll try to stuff even a little more here so that the bottom of the heart doesn’t get wrinkly.
Rnd 28: Ch 1, turn. Sc2tog 6 times. Sl st to 1st st to join. (6)
Break off. Weave yarn tail through remaining 6 sts and pull to close. Tie off and weave in end.
Arms (optional, make 2)
Leaving an 18 inch yarn tail, ch 12 and sl st to 1st ch to form ring.
Rnd 1: Work 1 sc, 1 hdc, and 10 dc. Don’t join rnds. (12)
Rnds 2 – 15: Keep working dc evenly around. I worked 15 rnds, but you can work as many or as few as you like, depending on how long you want the warms. After your last end, work 1 more hdc in the next st, and 1 more sc in the following st, and then sl st to the next stop to join. Don’t break off yet. Now you will work the hand.
Squish the opening of the tube in half, so that you’ll be working through two layers of crochet at the same time, forming the hand and closing up the opening at the same time.
Row 1: Ch 3, sk 1 st, (1 tr, ch 3, sl st), sl st in next st. Ch 3, and in the next st, work (1 tr, ch 3, sl st), sl st in next st. Ch 3, and in the last st, work (1 tr, ch 3 sl st). Break off and weave in end.
Legs (optional, make 2)
Repeat Rnds 1 – 15 of Arms. Keep working in the round and don’t squish the tube.
Rnd 16: Ch 1, (2 sc) 4 times, dc2tog 4 times. Sl st to 1st st to join. (12)
Rnds 17 – 18: Ch 2 and work dc evenly around. Sl st to 1st st to join. (12)
Rnd 19: Ch 1, sc2tog 6 times. Sl st to 1st st to join (6)
Break off, weave yarn tail through remaining 6 sts, pull to close, tie off, and weave in end.
You can choose whether or not to stuff the arms and legs. In my photos, I chose NOT to stuff the arms and legs, so that they would flop around more, but again, this is entirely up to you, and if you wish to stuff them, remember to do it before you sew them to the heart!
Now you can embellish and decorate your heart pillow however you like!
Here’s the quick pattern I used for Ricardio’s eyes. (make 2)
With Black, make magic ring, or ch 3 and sl st to 1st ch to form ring.
Rnd 1: Ch 1, and into the ring, work 2 sc, 3 hdc, 2 sc, 3 hdc, sl st to 1st st to join. (10)
Break off Black and join White.
Rnd 2: Ch 1. (2 sc), (2 sc), (hdc, dc), (2 dc), (dc, hdc), (2 sc), (2 sc), (hdc, dc), (2 dc), (dc, hdc), sl st to 1st st to join. (20) Break off leaving about 18 inches of yarn for sewing. Weave in the other ends.
Ricardio’s Cheeks (make 2)
With Red, ch 6.
Rnd 1: Sk 1st 2 chs, then work 3 hdc evenly. In last ch, (5 hdc). On the other side of your foundation ch, work 2 hdc evenly. In the last ch, work (4 hdc). Sl st to 1st hdc to join. (14)
Rnd 2: Ch 2. (2 hdc), 2 hdc, (2 hdc) 5 times, 2 hdc, (2 hdc) 4 times. Sl st to 1st hdc to join. (24)
Rnd 3: Ch 2. (2 hdc), 3 hdc, [(2 hdc), 1 hdc] 5 times, 2 hdc, [(2 hdc), 1 hdc] 4 times. Sl st to 1st hdc to join. (34) Break off leaving about 18 inches of yarn for sewing and weave in the other end.
Ricardio’s Mouth
With Purple, ch 29. Sk 1 ch, then work sl st, 2 sc, (2 hdc), sc, sl st, sl st, sc, (2 hdc), 2 sc, sl st. (upper lip finished) Then work sl st, sl st, 12 sc evenly, sl st, sl st. Sl st to 1st st to join. Break off leaving about 24 inches of yarn for sewing.
I used white felt for his teeth.

