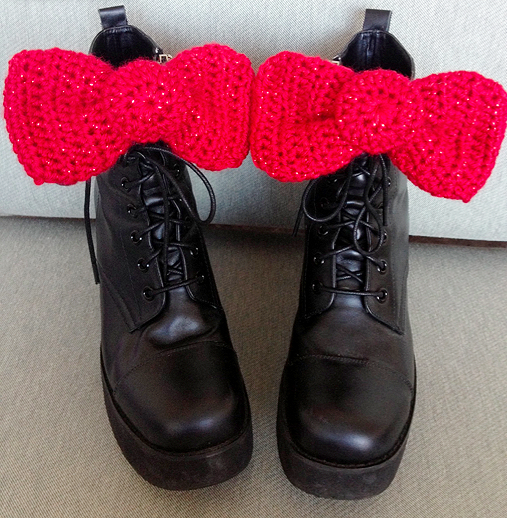
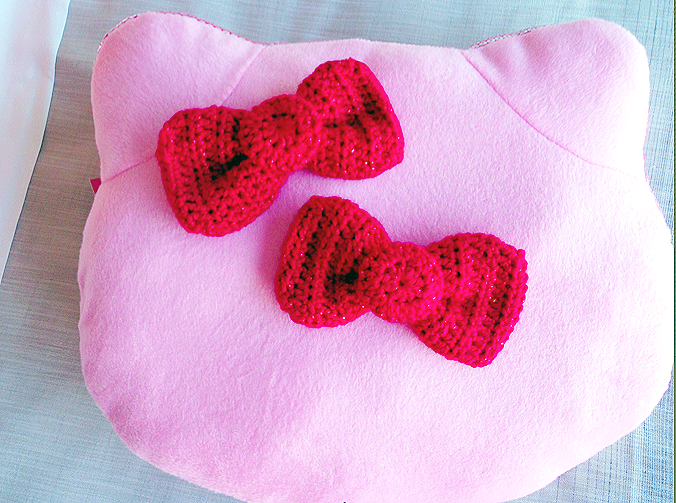
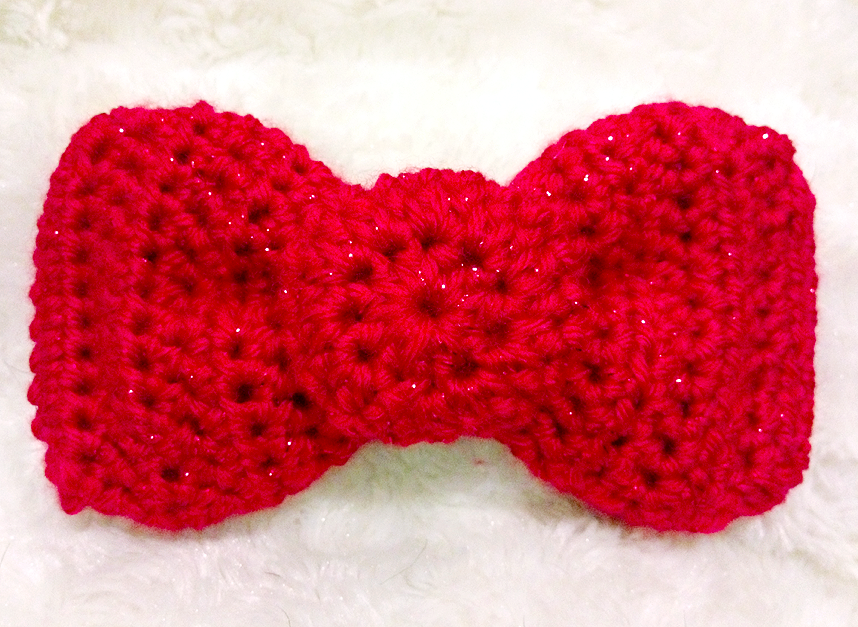
 Hello Kitty Con 2014 is here! I am in LA, meeting up with my friend Candace from Super Good For You to check out the con for the first two days. I really didn’t have time to plan an outfit or make anything super interesting to wear, but I figured I’d whip up some cute shoe clips for my boots!
I wanted them to be kinda square but kinda puffy, too, so that’s how I decided to work in joined rounds to make more of a 3d bow! The joined rnds with the turn in direction also help keep that seam in check. I was going to put a little stuffing in them to make them poofier, BUT, I totally just plain FORGOT, and I just went with it because I had to go to sleep to wake up for my plane.
If you are not really into the whole shoe-bow thang, you can always use this in your hair, or strung as a cool statement necklace, or as an embellishment to your sweater, dress, purse, or murse! I have yet to walk in the bows, so I’ll see if they are too big and if they just fly off my boots!

(Sorry for the really crappy photos!!!!! I’ll try to take better ones at home!)
What You’ll Need:
- Worsted weight yarn in Red. I’m using Caron Simply Soft Party in Red Sparkle.
- H hook
- Polyfill stuffing
- Shoe clips, hair clips, magnets, etc.
Abbreviations:
ch(s): chain(s)
hdc: half double crochet
rnd(s): round(s)
sc: single crochet
sk: skip
sl st: slip stitch
Special Stitches:
inv dec5hdc: I have no idea what the official abbreviation for this would be, but I’m calling for an invisible decrease where you decrease 5 hdc stitches into 1 hdc. YO, pick up outer loop only of the next 5 sts, YO, pull thru 5 loops, YO, pull through 3 loops.
Note:
With such a simple project, you’d think that you’d be able to see exact symmetry at both ends of the bow. However, due to whatever laws of physics or crochet, I had to alter the symmetry a bit to make the bow actually look symmetrical, so trust the weirdness of the pattern!
Bow:
With Red, ch 12.
Rnd 1: Sk 1st 2 chs, work 9 hdc evenly. In the last ch, work (3 hdc). Now working on the other side of your foundation ch, work 8 hdc evenly, then (2 hdc) into the last ch. Sl st to 1st hdc to join. (22)
Rnd 2: Ch 2, TURN. (2 hdc), 10 hdc, (2 hdc), 10 hdc. Sl st to 1st hdc to join. (24)
Rnd 3: Ch 2, turn. 10 hdc, (2 hdc). 11 hdc, (2 hdc), 1 hdc. Sl st to 1st hdc to join. (26)
Rnds 4- 16: Ch 2, turn. 1 hdc evenly around. Sl st to 1st hdc to join. (26)
Rnd 17: Ch 2, turn. 8 hdc evenly, then dec5hdc, 8hdc evenly, dec5hdc. Sl st to 1st hdc to join. (16)
Break off leaving about 12 inches of yarn and use it to sew Rnd 17 closed. Weave in ends.
You can put a thin layer of stuffing inside if you wish, but it’s not mandatory.
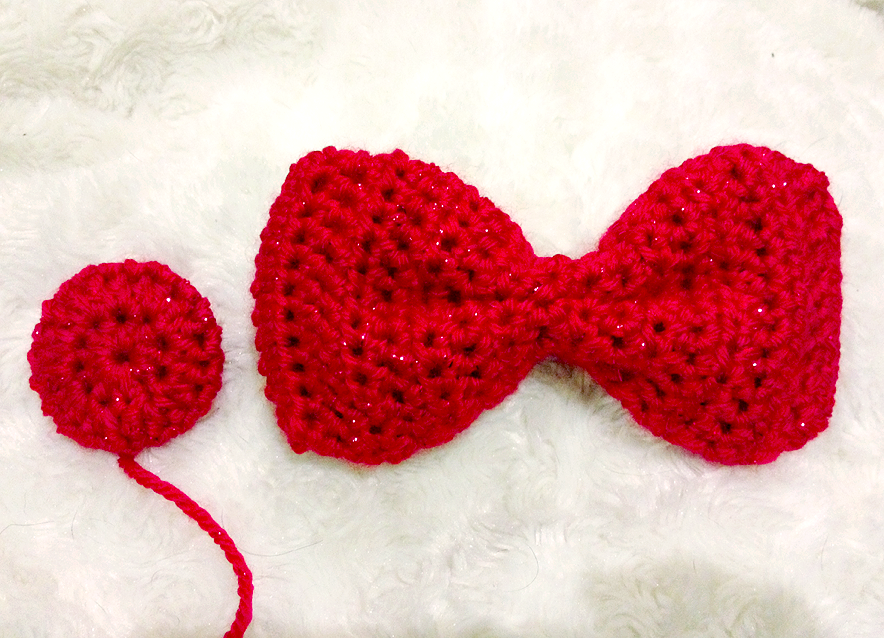
Pick which side will be the front of your bow. Thread about 18 inches of yarn onto your tapestry needle. Fold the bow horizontally in half toward you, and then fold each of those halves away from you, pinching the center. The inside layers will want to shift around, so get a good hold on them. Sew through the exact center, cinching together about an inch of the center of the bow to create the bow shape. Tie off the ends and weave them in.
Center of Bow
Make magic ring or ch 3 and sl st to 1st ch to form ring.
Rnd 1: Ch 2 and work 10 hdc into ring. Sl st to 1st hdc to join. (10)
Rnd 2: Ch 2, (2 hdc) 10 times. Sl st to 1st hdc to join. (20)
Rnd 3: Ch 2, 1 hdc in each st. Sl st to 1st hdc to join. (20)
Rnd 4: Ch 2, hdc2tog 10 times. Sl st to 1st hdc to join. (10)
Break off. If you want to sew the Center of Bow on, break off leaving about 18-24 inches of yarn for sewing. If you want to glue it on, just break off and weave in ends. There will be a hole left in the center, but I just keep that in the back, and nobody will ever know.
Now you’re ready to wear your bow!
Please note that this pattern is for personal use only, and that Hello Kitty is copyright/trademarked by Sanrio Co. Ltd., and I honestly don’t know if the bow imagery is trademarked or not, too, so, yeah.


